
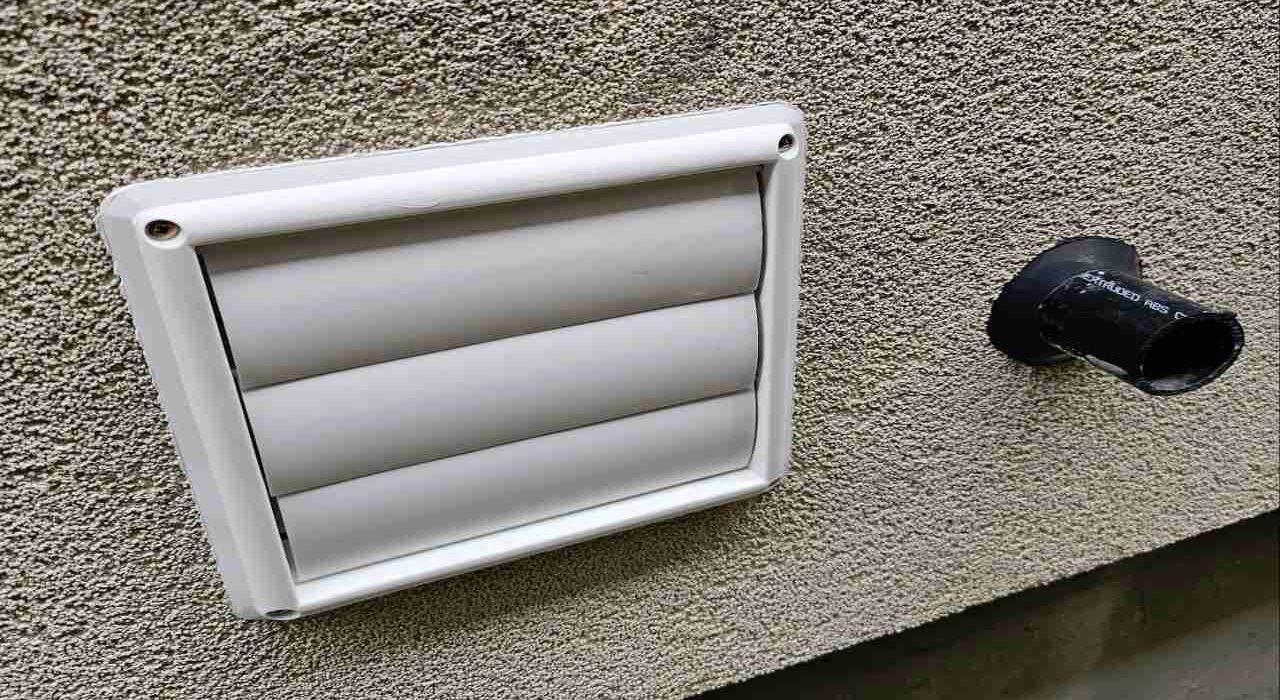
Walk the exterior perimeter of any premium home in Southeast Oakville, Bronte, Roseland, or Tyandaga and look closely at your utility exhaust caps. Homeowners routinely overlook these fixtures, yet professional exterior vent caulking along these wall penetrations is your primary defense against hidden moisture damage.
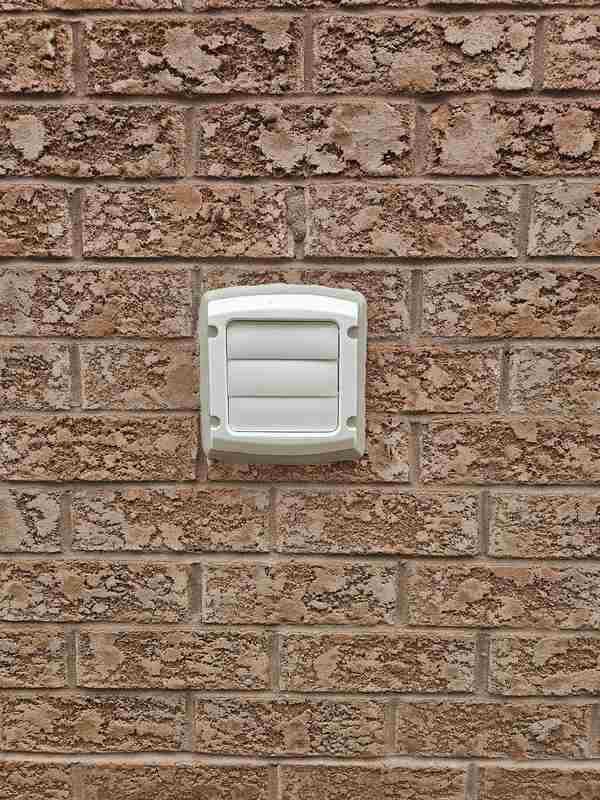
Laundry dryer exhausts, kitchen range hood vents, bathroom fan caps, and HRV terminals punctuate the wall face at various heights across every elevation. Each of these fixtures represents a deliberate mechanical breach cut straight through your exterior building envelope cladding.
The thin perimeter sealant line wrapped around the outer housing flange is your only protection standing between the raw wall cavity and the outdoor elements. When this perimeter line cracks, that carefully sealed utility breach instantly transforms into an open channel.
Rainwater, freezing drafts, and aggressive pests pour directly around the unshielded flange. This neglect creates severe hidden structural consequences that compound with every passing season the problem remains ignored.
The Physics of Thermal Expansion Shock from Mechanical Exhausts
Utility vent seals face extreme stresses that standard windows never encounter. A window frame moves slowly through ambient outdoor temperature changes across a seasonal timeline.
A laundry dryer or kitchen hood vent transitions from freezing cold to high-heat exhaust in minutes. It returns to ambient cold immediately at the end of each appliance cycle.
In southern Ontario winters, an operating laundry dryer can blast air at 60°C through a housing that was sitting at minus 15°C just moments earlier.
The plastic or metal housing flange expands rapidly under that intense thermal shock. However, the surrounding brick or stucco does not respond to the same temperature on the same timescale.
This massive differential movement places your perimeter sealant under heavy tensile and shear stress simultaneously. Standard big-box retail caulks cannot handle this repeated pulling.
The low-grade compound dries out, becomes brittle, and tears cleanly down its center. This structural failure leaves an open, unshielded gap wrapped completely around your vent housing flange.
Preventing drafty thermal breaches around mechanical wall penetrations relies on establishing permanent air barrier continuity.
According to International Residential Code efficiency standards, following professional air barrier continuity and envelope duct sealing guidelines is mandatory to eliminate parasitic energy drains and protect your home’s heating envelope.
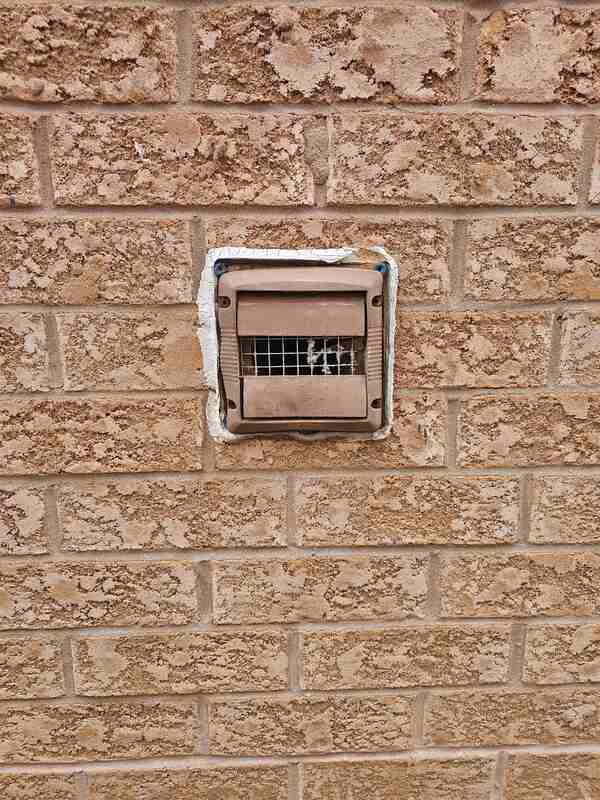
The Consequences: Trapped Moisture, Laundry Room Drafts, and Pest Highways
An open vent flange perimeter on an exposed brick or stucco elevation is not a passive gap. It is an active infiltration point for every weather event that contacts that wall face.
Wind-driven rain hitting a south or west-facing wall during an Ontario summer storm is not running vertically down the face. It is being pushed horizontally against the wall surface under pressure, and it is finding every opening it can enter.
Water that enters the gap around an unsealed dryer exhaust housing follows the duct penetration inward, where it contacts the wall cavity insulation, the wood framing members that form the rough opening, and potentially the interior vapour barrier.
Fibreglass batt insulation that has been wetted repeatedly loses a significant portion of its thermal resistance and retains moisture against adjacent wood framing. Wood framing in a wall cavity that is regularly wetted and unable to dry out begins to rot within a predictable moisture exposure timeline.
Unlike a window frame leak that may present with interior water staining at the window sill, a vent penetration leak at mid-wall height can travel downward through the wall cavity before appearing as an interior stain at a location that does not correspond to the actual entry point.
For a detailed explanation of how water entering at one elevation in a wall assembly can emerge as visible damage at a lower location, our article on window frame leaking water and upper envelope water paths covers that moisture migration dynamic in depth.
The energy performance impact of open vent perimeter seals accumulates across multiple penetrations. A home with six to eight utility vents, each with a failed perimeter seal, has a combined uncontrolled air leakage area that contributes meaningfully to heating and cooling costs throughout the year.
Cold air infiltrating through vent perimeter gaps during winter is felt as drafts in interior rooms closest to those wall faces, and the air barrier breach means the HVAC system is managing uncontrolled air exchange rather than a sealed building envelope.
For a full breakdown of how air infiltration through envelope gaps translates directly to utility bill increases and how to save on AC bills through proper building envelope sealing, our energy efficiency article covers the financial impact in quantified detail.
The pest access dimension of a failed vent perimeter seal is significant and underestimated by most homeowners. A gap of six millimetres around a vent housing flange is sufficient for a mouse to enter the wall cavity.
A gap of three millimetres or less is navigable by carpenter ant columns. Wasps and paper wasps are well-documented users of vent housing interiors for nest construction, entering through the perimeter gap and building comb structure inside the duct housing itself.
For the complete methodology of how professional perimeter sealing eliminates pest access pathways across the entire building envelope, our article on pest prevention window caulking details exactly how this seal type connects to a comprehensive structural pest-proofing approach.
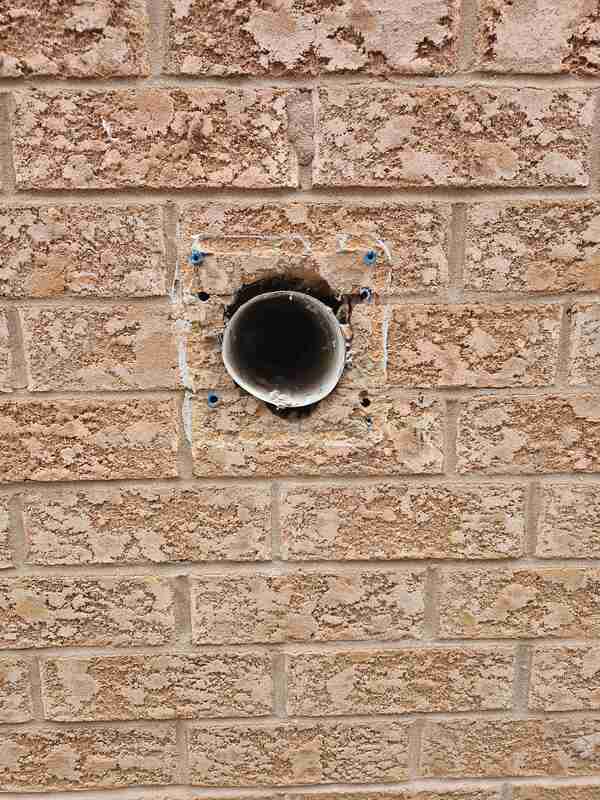
Critical Failure Indicators Around Utility Vent Flanges
A fifteen-minute inspection of every utility vent cap on your home’s exterior will give you a complete picture of your wall penetration seal condition. The following indicators identify penetrations that require immediate professional attention.
Visible Adhesive Tearing and Material Cracking Around Flanges
Sealant that has torn away from the housing flange face, cracked through its cross-section, or pulled away from the surrounding wall surface along one or both edges is no longer providing any weatherproofing function at that penetration.
The joint is open. The degree of visible failure correlates with how long the infiltration has been active, but even a small gap at a vent perimeter constitutes a complete seal failure for weatherproofing purposes.
Persistent Cold Drafts Felt Near Dryer or Kitchen Range Zones
A laundry room, utility room, or kitchen where cold air is perceptible near the exterior wall, particularly in the vicinity of the duct exhaust location, is receiving uncontrolled outdoor air through the failed vent perimeter seal.
The draft is most pronounced when wind is applying positive pressure to that wall face. If the draft increases noticeably during windy conditions, the perimeter seal failure is confirmed as the source.
Water Stains or Discoloured Drywall on Interior Wall Inclusions
Dark staining, paint bubbling, or soft drywall at interior wall surfaces adjacent to a utility vent location confirms that water has been entering the wall cavity through the vent perimeter and reaching the interior finish.
This interior indicator typically appears one or more seasons after the seal failure began. The visible stain area is usually smaller than the actual moisture-affected zone in the wall cavity behind it.
Evidence of Pests, Mud Wasps, or Rodents Nesting Inside the Vent
Mud wasp nesting material visible inside the housing, evidence of rodent activity in adjacent laundry zones, or unexplained insect trails near vent walls all confirm a failed perimeter seal.
These visual indicators prove that your utility caps have been compromised and are now actively operating as structural entry points into the home.
In many cases, this destructive pest activity heavily predates any visible sealant degradation because the initial entry gap was tiny.
These micro-cracks remain completely invisible at a normal inspection distance, meaning insects and small rodents are already nesting inside your wall cavities long before a homeowner spots the failure line.
Loose, Rattling, or Unanchored Utility Hood Housing Units
A vent cap housing that moves perceptibly under hand pressure, rattles during windy conditions, or has visibly shifted from its original position has lost its mechanical anchor to the wall face.
This is often a consequence of advanced sealant failure where the adhesive bond between the housing flange and the wall surface has fully released.
A loose housing is a housing with a perimeter gap at multiple points around its circumference, regardless of whether a sealant bead is still visually present.
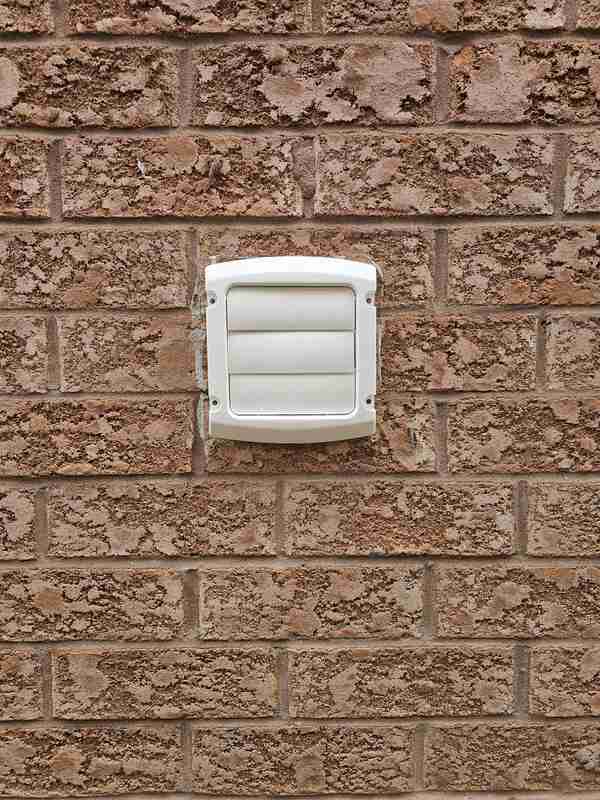
The Surgical Workflow for Exhaust Penetration Weatherproofing
Applying new caulk over an existing, failed vent perimeter seal is one of the most reliably ineffective maintenance actions a homeowner can take. The surface of an old, degraded sealant bead around a dryer exhaust carries an invisible combination of heavy lint contamination and dryer exhaust condensate residue.
This oily layer mixes with UV-degraded polymer compounds and thick atmospheric surface pollution, which completely prevents any fresh material from forming a clean adhesive bond. The new application mistakenly bonds to this surface contamination layer rather than to the raw brick face or the underlying utility housing flange.
Inheriting this exact structural adhesion weakness causes the fresh caulk line to split wide open under its very first thermal expansion cycle. This improper shortcut traps existing moisture behind the vent hood, masking the underlying building envelope failure while accelerating hidden structural decay inside your walls.
Phase 1: Removing Heavy Dryer Lint and Exhaust Contamination
All existing sealant material around the vent housing flange is removed completely using oscillating tools, detail scrapers, and solvent-based cleaners appropriate to the housing material and the surrounding substrate.
At dryer exhaust locations specifically, the joint faces are cleaned of lint and exhaust condensate deposits before any chemical preparation begins. These contaminants are chemically incompatible with sealant adhesion and must be fully removed before the substrate can be assessed.
The mechanical cleaning approach varies depending on whether the surrounding substrate is brick, stone, or stucco. For stucco-clad homes, the precision required around a vent penetration is particularly demanding, and the methodology differs from brick applications.
For a complete methodology of how professional perimeter sealing eliminates pest access pathways across the entire building envelope, our article on stucco exterior caulking repair details the specific tool limitations and substrate preservation requirements that govern mechanical extraction on EIFS and synthetic stucco wall faces, including the constraints around oscillating tool depth near fibreglass mesh layers.
Phase 2: Stabilizing Exhaust Housings and Wall Anchor Integrity
Before any new sealant is injected, the entire exhaust housing unit is meticulously evaluated for mechanical integrity. A utility cap that has lost its structural wall anchors must be re-secured before its perimeter can be sealed. A loose housing will continuously transmit excessive shifting movement directly to the fresh sealant bead under wind loading and aggressive thermal cycling.
This ongoing structural movement quickly produces the exact same adhesive failure at the flange edge that the previous retail caulk experienced. Where old mounting screws have corroded or the plastic housing flange has deformed, the unit must be re-leveled and properly anchored into the masonry or siding before weatherproofing can proceed.
Phase 3: Deep Cushion Backing for High-Movement Utility Overhangs
Wall penetration openings that were cut generously during initial utility installation require an underlying support backing before any polymer is injected. This specialized preparation step also applies to aging local properties where structural house settling has significantly widened the original perimeter seams over time.
For these expanded utility gaps, a high-density closed-cell backing rope must be compressed deep into the channel to control your final material depth.
To examine how deep structural channels require exact depth-to-width configuration profiles, our comprehensive guide to professional joint preparation details the physical building science reasons why seating a backing rope is an absolute structural prerequisite for proper joint geometry.
This crucial underlying padding acts as an essential release barrier that completely blocks the compound from anchoring to the rear substrate face.
This precise backing ensures the finished compound develops two-point adhesion, allowing the silicone bead to flex effortlessly under intense thermal movements without peeling or tearing.
Without this structural support, the compound will suffer a three-point adhesion failure as the exhaust flange cycles through heat spikes.
Phase 4: Injecting High-Heat Elastomeric Silicone Sealing Barriers
Our technician injects the specified commercial-grade polymer around the full perimeter of the housing flange using advanced equipment that maintains uniform material delivery. This controlled application ensures consistent bead volume along every edge, especially at the complex corner points and the unshielded underside of the metal housing where gravity routinely works against manual installations.
The finished weather barrier is hand-tooled to a smooth, downward-sloping concave profile using a dedicated architectural trowel. This mechanical compression establishes a permanent, airtight seal that locks in absolute adhesion against both the metal housing edge and the adjacent exterior wall face.
Our selected exterior compounds utilize specialized cross-linked chemistry to maintain absolute stability against high-heat fixtures and intense structural friction. These horizontal protection layouts align perfectly with the moisture shielding and enclosure integrity standards governed by the official Electrical Safety Authority of Ontario.
This advanced weatherproofing capability ensures the tooled material absorbs ongoing framework stress throughout extreme Ontario weather variations. The flexible chemical connection shields your exterior transitions without cracking or pulling loose from expanding siding, brick walls, or utility housings.
Secure Every Perimeter Breach Before Hidden Damage Expands
A cracked or separated utility vent perimeter seal represents a small exterior gap with structural consequences completely disproportionate to its physical size.
Cascading stormwater entering a wall cavity through a tiny, three-centimeter opening on a second-story elevation can track two full floors down through your insulation and framing before finally emerging as a dark interior blemish on your ceiling.
Similarly, a field mouse navigating an unshielded dryer vent perimeter in October can easily establish a deep wall nest long before a homeowner detects any visual evidence inside.
A nesting wasp colony that anchors inside an open housing during the summer creates an immediate safety hazard that ultimately demands an expensive, specialized pest extermination rather than a basic maintenance visit.
None of these highly destructive outcomes require a massive structural failure. They demand nothing more than a tiny, neglected gap and enough seasonal weather time to work behind your cladding layers.
Protect Your Building Envelope From Utility Vent Leaks and Pests
Don’t let aggressive exhaust thermal shock shatter your perimeter cap seals, rot your internal wall cavities, or invite nesting pests into your home. Contact us for a specialized, professional utility vent joint assessment today.
Proper Caulking – Oakville & Burlington, Ontario