
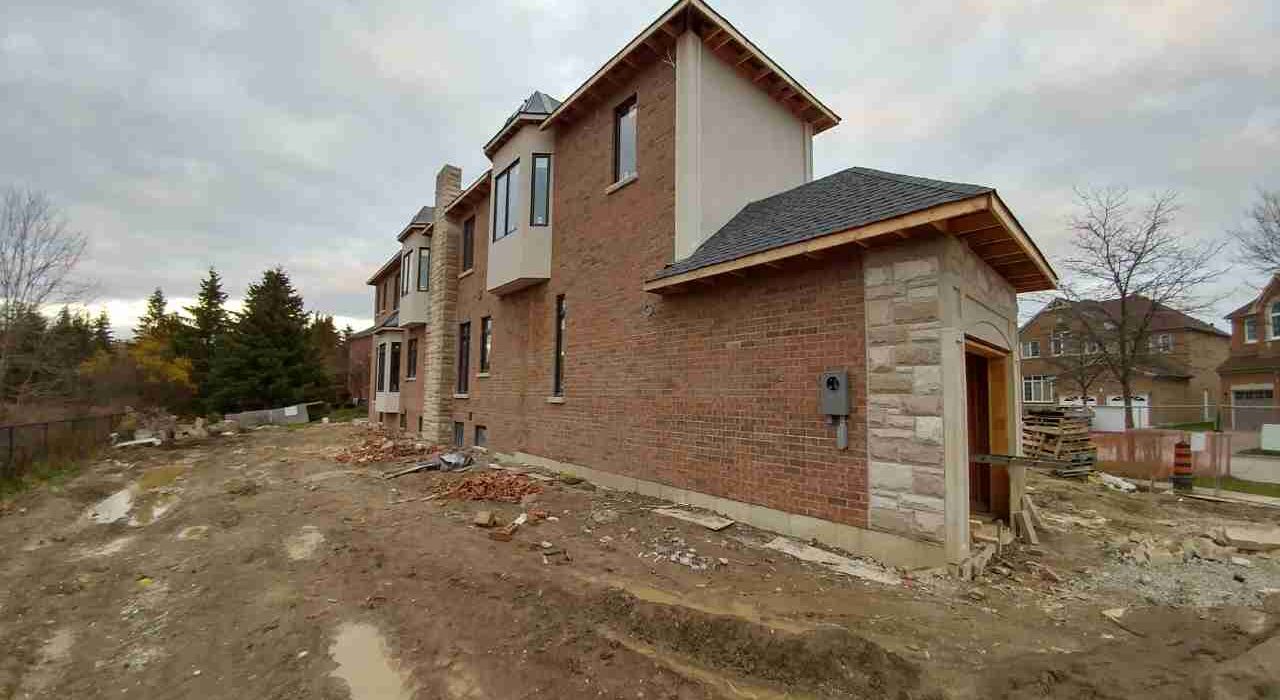
Ever watch a professional caulking crew work in Burlington or Oakville? You likely noticed a grey foam rope pushed into the brick window gaps. Most homeowners walk past without a second thought, asking: what is a backer rod and why does it even matter? It looks simple. However, it is a critical choice for Burlington window sealing that separates real quality from cheap shortcuts.
Skipping this single, foundational component means your exterior sealant will likely split, peel, and fail within a season or two under Ontario’s harsh freeze-thaw cycles. Taking a few minutes to understand its structural engineering role gives you the exact technical knowledge you need to protect your building envelope, save on energy bills, and evaluate any professional caulking quote you receive across the Halton region with total confidence.
⏱️ Quick Answer
A foam backer rod is a cylindrical polyethylene rope inserted into deep joints to establish a strict 2:1 width-to-depth structural ratio and prevent destructive three-sided adhesion. Industrial polymers cannot bond to closed-cell backing rope, which forces the cured caulk to stretch symmetrically like a rubber band between the window frame and the brick. Skipping this step ensures your exterior sealant will split down the center within two years under Ontario’s harsh freeze-thaw shifts.
The Window-to-Brick Gap: More Demanding Than It Looks
The joint between a window frame and the surrounding brick masonry on a residential home in Halton Region is not a static gap. It is a dynamic, constantly moving interface between two materials that respond to temperature and moisture in completely different ways.
Brick masonry is dense, heavy, and relatively stable. It moves slowly and in response to long-term settling and moisture cycling. A vinyl or aluminum window frame, by contrast, expands and contracts significantly with temperature. On a south or west-facing elevation in Burlington, a large vinyl frame can shift several millimetres between a cold winter morning and a hot July afternoon when the frame surface reaches 60 degrees Celsius in direct sun.
The sealant in that joint has to bridge those two materials through every one of those movement cycles, year after year, without tearing, without losing its bond, and without allowing water to pass. That is a significant mechanical demand. Getting it right requires more than a quality sealant product. It requires correct joint geometry, and that is exactly what a backer rod provides.
When a joint is left unsealed or improperly sealed, the consequences go beyond drafts and energy loss. Water infiltration through a failed window perimeter joint is a direct path to hidden moisture damage inside the wall assembly. For a closer look at what that damage looks like and how quickly it progresses, our article on window frame leaking water issues covers the full picture.
The Science of Two-Point Adhesion
This structural engineering principle explains exactly why utilizing a backing rope matters and why skipping this step produces an inevitable, predictable failure. For an advanced look at structural joint mechanics and material bond boundaries, the comprehensive guidelines published in the Tremco Sealants commercial joint design guidelines library serve as an excellent technical blueprint database.
A high-performance exterior weatherseal is physically engineered to function exactly like a flexible rubber band stretched tightly between two separate structural materials. Inside a standard residential window-to-brick gap, those two independent boundaries are the smooth vinyl window casing on one side and the rigid clay brick masonry on the other.
The industrial-grade compound anchors itself to both building faces, stretching and compressing between them as the joint opens and closes during seasonal temperature shifts. This specific mechanical setup is defined as two-point adhesion, and it represents the only correct configuration for a dynamic exterior joint.
When your building facade shifts and the wall gap widens, the flexible polymer elongates smoothly. When the weather transitions and the joint narrows, the cured bead compresses safely without losing its grip, ensuring the structural bond holds on both faces and survives intact for decades.
The Destruction of Unbacked Structural Cavities
When an architectural wall gap is deep and an untrained contractor injects new caulk without seating a backing rope first, severe structural defects occur. The wet material slumps completely into the full depth of the structural wall cavity, bonding blindly to three separate surfaces simultaneously.
The compound anchors onto the side window frame casing, the opposite brick masonry face, and the rigid back wall of the framing cavity. This improper configuration triggers a highly destructive condition known as three-sided adhesion, and it is a major building envelope failure waiting to happen.
When the home naturally settles or shifts under solar loads, the cured compound cannot stretch or flex freely because its core is pinned directly to the back wall. The opposing structural forces pull the rubberized compound in three conflicting directions at the exact same time.
Instead of stretching symmetrically along its horizontal axis, the excessive internal tension tears the material right down the center line of the bead. The physical split rapidly tears along the entire linear run of your window perimeter, completely breaking your weatherbarrier and letting driving rain and cold drafts move freely behind your walls.
The homeowner eventually notices a massive, jagged crack splitting down the middle of what looks like perfectly clean, intact caulking from the driveway. They are left wondering exactly what went wrong with their property maintenance investment.
What went wrong was that a proper backing foam foundation was never installed inside the channel before the caulk was injected.
The Three Foundations of Closed-Cell Backing Foam
Seating a high-density, closed-cell polyethylene backer rod at the correct physical depth before any fresh polymer is injected accomplishes three critical engineering goals simultaneously. First, it dictates your perfect joint depth metrics to ensure a flawless install.
Our crews strictly specify closed-cell polyethylene backing cords rather than low-density open-cell variants for exterior perimeters. Closed-cell structures do not absorb liquid water, boast an internal network of pressurized gas cells that resist heavy wind loads, and provide genuine thermal insulation against Lake Ontario’s winter drafts.
We enforce a strict 25% to 30% structural compression rate upon insertion to establish a permanent friction-fit foundation. For a standard 12mm wide window-to-masonry joint transition, our crews mechanically compress a 15mm diameter foam backing rope into the gap.
For the vast majority of local residential openings, the ideal cured sealant depth must measure roughly half the overall width of the joint channel to maintain a strict 2:1 width-to-depth structural ratio. The backing rope is locked at that exact target depth line, stopping the wet polymer from sinking into the cavity and ensuring the compound cures with ideal cross-sectional geometry.
Second, it completely eliminates the dangerous third bonding face. Industrial caulking polymers are chemically incapable of bonding to the slick, non-porous skin of a closed-cell polyethylene foam rope.
This non-stick barrier design is completely intentional, forcing the injected polymer to bind exclusively to the window casing and the raw brick faces. This step guarantees that your home layout maintains a true, high-performance two-point adhesion setup.
The specific selection of insertion tools directly dictates the long-term structural survival of this perimeter joint. Installers must strictly utilize smooth rollers or blunt packing tools because driving a backing foam rope into a masonry channel with a sharp screwdriver or utility knife punctures the pressurized polyethylene cells.
Puncturing the outer polyethylene skin causes severe material outgassing, releasing trapped manufacturing gases directly into your wet polymer skin. This creates permanent chemical bubbling, wrinkling, and structural void blisters that break your two-point adhesion layout during winter freeze-thaw cycles.
Third, it shapes the elastomeric material into a flawless hourglass profile. A properly configured building envelope joint features a sealant bead that is slightly thinner at its center point than along its outside substrate anchor faces.
This specific geometry allows the compound to distribute intense tensile stress evenly across the full width of the joint face whenever the house moves. This precise engineering shape is the exact mechanism that allows a premium commercial polymer to reach its maximum rated movement threshold without cracking or unzipping down the center.
The Material Behind the Warranty
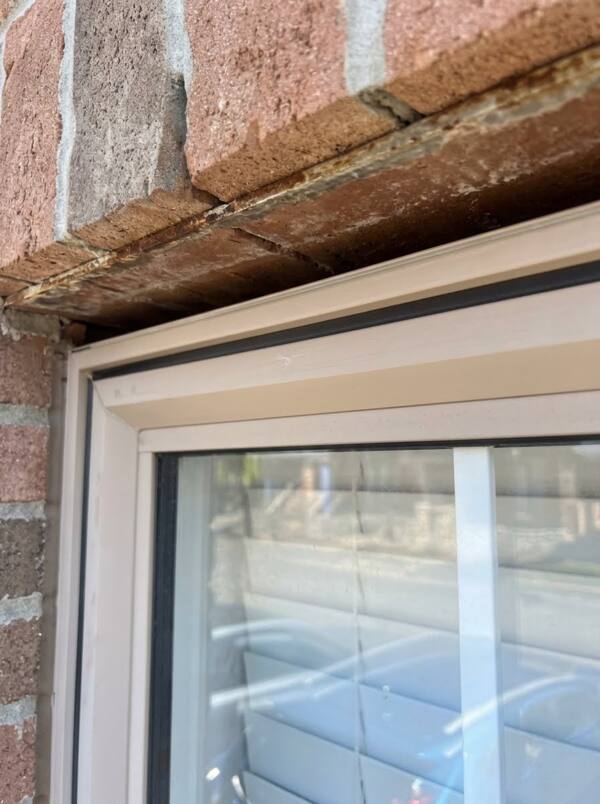
A high-density backer rod establishes the ideal cross-sectional shape within a structural wall cavity, but the polymer compound layered over that backing foam still has to endure intense elemental loading. This critical performance phase is exactly why precise material specification matters just as much as manual tooling technique.
Analyzing why these multi-substrate joints fail in the first place requires a clear understanding of the shifting thermal forces constantly acting upon your exterior facade lines.
Burlington and Oakville experience some of the most aggressive seasonal temperature cycling in southern Ontario, and the precise mechanical laws of how those shifts tear apart improperly specified caulks are fully broken down in our diagnostic guide explaining why exterior caulking cracks under regional climate shifts.
The commercial-grade architectural silicones we deploy at Proper Caulking are engineered to a completely separate tier of durability. Premium heavy-bodied commercial sealants are formulated with superior joint movement thresholds of up to 50 percent or more, fully compliant with the rigid industrial criteria detailed in the ASTM C920 standard specifications.
This high-elongation elasticity allows the cured rubberized bead to safely stretch to one and a half times its baseline joint width during extreme temperature drops without tearing away or unzipping from the masonry or window frames. This premium level of raw material performance is precisely why we can confidently back our local installation services with a rock-solid 10-year workmanship warranty.
Standard retail silicone sourced from a big-box hardware store does not carry a certified industrial rating for active, high-movement joint shifting. It is simply not formulated to withstand the intense physical demands of a long-term residential weatherproofing application here in the Halton region.
A cheap store-bought tube might look identical to commercial compounds when wet and can even produce a passable look immediately after it is smoothed into place. The true material performance gap becomes obvious in the second or third year when the retail compound loses its elasticity, hardens under solar rays, and cleanly splits open as the wall shifts.
Insulation, Drafts, and the Lake Ontario Factor
Backer rod does more than control joint geometry. In the Halton Region climate, it also adds a meaningful layer of physical insulation at one of the most vulnerable points in the building envelope.
Burlington and Oakville sit on the western shore of Lake Ontario. The lake effect that brings heavy snowfall to the region in winter also drives cold, damp air against south-facing and west-facing building elevations with consistent force.
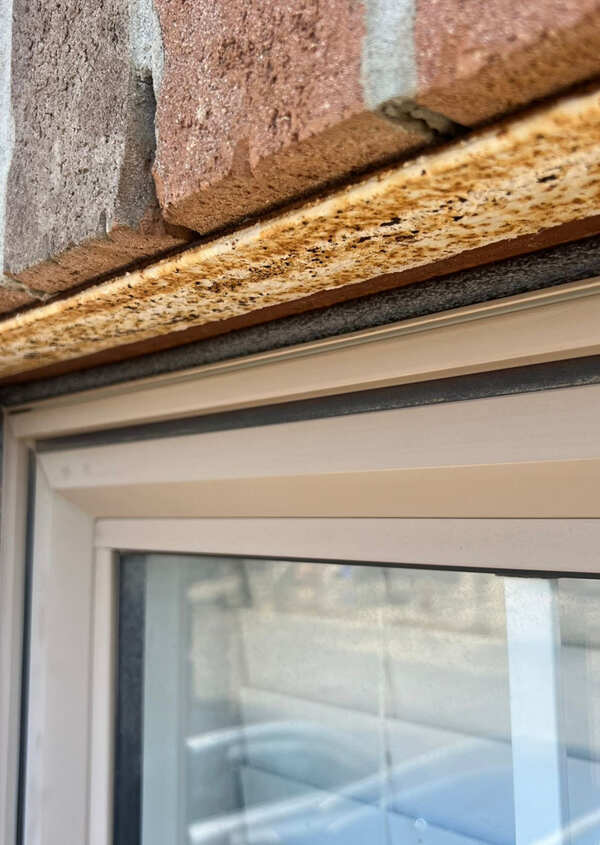
The window-to-brick perimeter joint, without a backer rod, is an empty cavity open to the back of the wall assembly. Cold air stagnates in that void and conducts through the surrounding materials, creating cold spots on interior window frames and sills that homeowners in downtown Burlington and South Oakville recognize as a persistent winter problem.
Closed-cell polyethylene foam has genuine insulating and air-blocking properties. A properly installed backer rod fills the back of the joint cavity with a material that resists both air movement and thermal conduction.
When the sealant goes on top of it, the joint is sealed at the face and insulated through its depth. The combined effect reduces drafts, lowers the cold-spot effect at the frame perimeter, and makes the sealed window feel noticeably tighter to anyone standing near it on a cold day.
In summer, the same closed-cell structure resists the humid air that moves against Oakville caulking services installations during the heavy heat weeks of July and August. The backer rod reduces the depth of joint through which air can cycle, limiting the moisture exposure of the interior wall assembly.
Beyond thermal and moisture performance, a correctly installed backer rod and commercial sealant system also closes one of the most overlooked pest entry points on a residential exterior. Carpenter ants, earwigs, and other insects follow the same gaps that air and water use.
For a full breakdown of how properly sealed window perimeters deliver structural pest prevention benefits alongside their weatherproofing function, our dedicated article covers every detail.
What the Shortcut Looks Like and How to Spot It
A general handyman or budget contractor who skips the backing foam foundation will typically execute one of two classic installation errors. They will either inject wet sealant deep into the full, open void of the cavity, triggering the destructive three-sided adhesion failure described above, or they will spread a paper-thin surface bead right on top of the opening rather than packing it properly.
While this shallow surface smear binds superficially to both substrate edges, it lacks the proper cross-sectional depth and hourglass geometry required to survive natural thermal shifts. Both shortcut approaches look acceptable from your driveway on the day of application, but the tell-tale signs of mechanical failure appear within one to two weather seasons.
Visual Indicators of a Shortcut Installation
- A jagged crack splitting right down the center line of the sealant bead: This centerline tear occurs instead of a standard edge separation, signaling a classic three-sided adhesion failure where the material snapped because it was pinned to the back wall.
- A finished bead that appears thick and flat across its face: Running a flat line proves that no one controlled the joint depth, as hand-tooling a proper water-shedding concave profile is physically impossible unless an underlying backer rod is seated first.
- A rubberized joint that sounds completely hollow when tapped lightly: Gently clicking your fingernail along the weatherseal reveals an empty, unbacked void directly behind a thin skin of caulk, producing a distinctly different sound than a solid, foam-backed channel.
- Total material separation tracking along both bonding edges simultaneously: This rapid, double-sided delamination on a recently completed joint confirms that the channel was completely overfilled with paste, causing the material to tear away from both substrate walls at once as it shrunk.
A Simple Inspection Guide: 5 Signs Your Window Sealant is Failing
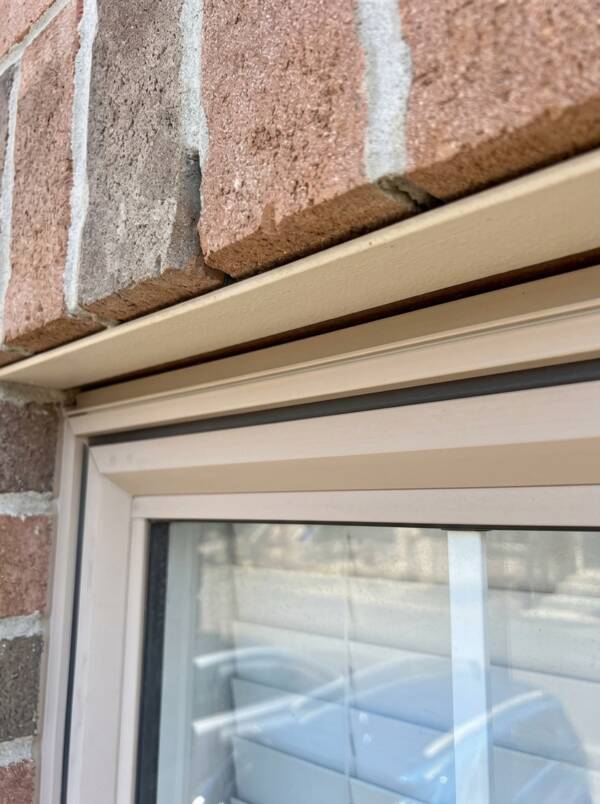
Before you hire a caulking company in Burlington or Oakville, take a quick walk around the outside of your house. Checking for these five common problems will help you spot hidden damage before it ruins your walls.
Finding these simple visual signs tells you if your home is actually protected from the weather. These are the five classic signs that a contractor skipped the backing rope foundation inside your window gaps.
Sign 1: A Deep Crack Splitting Right Down the Middle of the Caulk Line
A long, jagged crack running down the exact center of your caulk line means the material suffered from three-sided stick failure. The original worker simply squirted wet paste into an empty, wide wall gap without pushing a foam backing rope inside first.
Because the caulk stuck to the back wall of the cavity, it could not stretch sideways when your house naturally shifted in the weather. The pulling forces snapped the brittle material right down the center line.
Sign 2: A Flat or Outward-Bulging Caulk Face
Proper window sealant needs a slightly curved, hollow shape to drain running rainwater away from your frames. A flat or fat, bulging line means the worker overfilled the joint and never controlled how deep the caulk went.
Smoothing out a perfect, water-shedding curved line is impossible unless an underlying foam backer rod is pushed in first to support the tool. Overfilled joints put too much stress on the edges, causing the caulk to peel away from the brick very quickly.
Sign 3: The Caulk Caves In Deeply When You Press It Gently With Your Finger
If you press lightly on the middle of your window caulk and it squishes deep into the wall, the joint has no solid foundation. The rubber line is just floating over a hollow, empty hole that cannot handle wind pressure or accidental bumps.
This empty setup means the thin layer of caulk is carrying the full weight of heavy storms completely by itself. Over time, strong wind-driven rain will puncture this soft skin and leak straight behind your brick walls.
Sign 4: Hard, Dry Material That Crumbles and Flakes Off at the Edges
Caulk that feels stiff, looks chalky, or crumbles into dust when touched means the previous worker used cheap retail latex or acrylic paste. These cheap, basic hardware store products lose their stretchiness within a year or two of sitting in the hot sun.
Professional industrial sealants like DOWSIL and Sikasil stay stretchy and rubbery through a decade of harsh Ontario winters and summer heat waves. Upgrading to real commercial-grade polymers keeps your window joints moving smoothly without cracking open.
Sign 5: A New Layer of Fresh Caulk Smeared Right Over Top of the Old Stuff
A real professional job requires the old, rotten caulk to be fully scraped out down to the bare brick and frame. If a handyman simply wiped a fresh layer of new caulk over the dirty, old material, the job is already broken.
The new paste cannot stick properly because it is anchoring onto loose dirt and failing old rubber. This lazy shortcut means the top layer will peel right off along with the old, failing caulk underneath it.
Protect Your Home Before an Empty Window Joint Fails
Leaving your perimeter tracks empty puts continuous physical stress on the structural points of your walls. These joint boundaries face relentless freezing winds, high summer humidity, and driving lakefront storms across the local region.
Upgrading your property with high-density backing foam and trade-grade polymers keeps your weather barrier locked tight for over two decades. Skipping the underlying support and squirting cheap retail paste deep into a wide cavity means the material will split down the middle in less than two years.
Spending a little bit more to secure professional trade execution avoids massive financial headaches down the road. It stops hidden water pooling from slowly rotting out your costly internal wall insulation and timber framing.
Our field crew will inspect your casing channels, identify exactly which old compounds are failing, and show you how to stabilize your building envelope. We provide straightforward data with zero obligation, backing our structural installations with a comprehensive 10-year workmanship warranty.
You can visit our main portal to schedule a free property evaluation to secure your masonry boundaries before the next storm season hits.
To check out how we weatherproof additional cladding ledges, trim boards, and multi-material transitions, explore our complete service menu engineered to block drafts across the entire Halton community.
Don’t Let Cheap Contractors Skip Critical Steps
Ensure your window-to-brick gaps are engineered with professional backer rods and commercial-grade silicone. Get your free, zero-obligation joint inspection today.
Proper Caulking – Burlington & Oakville, Ontario