
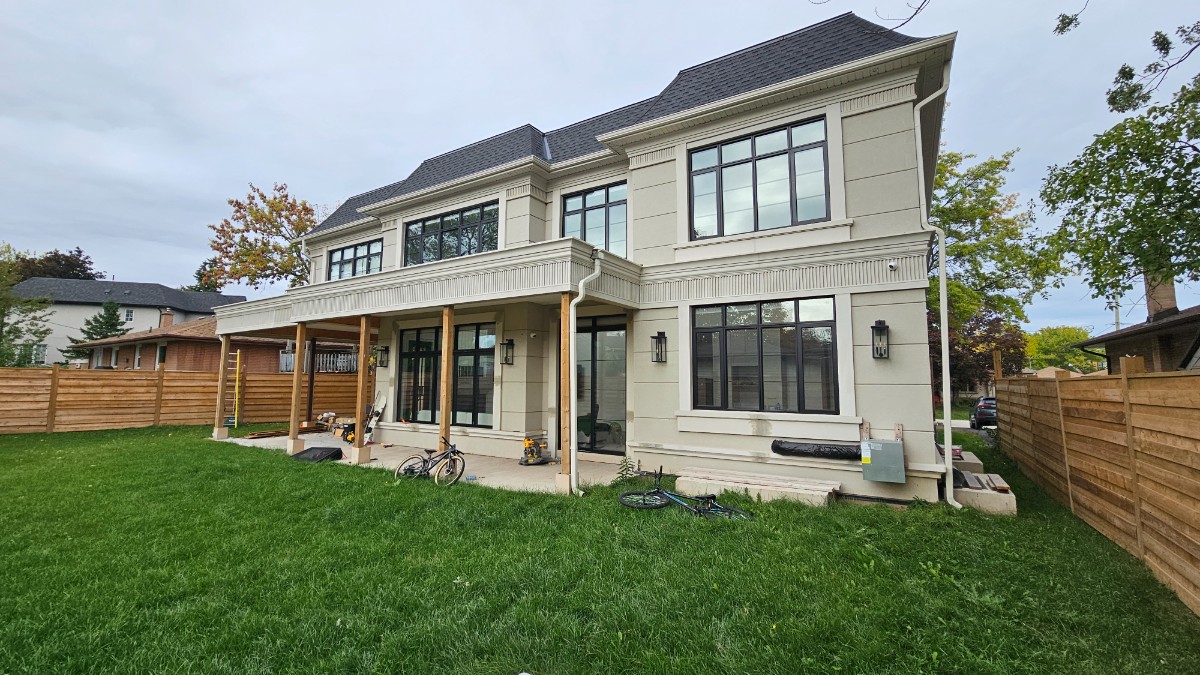
Spring and summer across the Halton Region make fresh painting projects feel incredibly urgent, but skipping structural perimeter sealing is a fatal financial mistake. When securing long-lasting exterior caulking in Burlington, homeowners discover too late that proper substrate sealing is the single most critical step required before a brush ever touches their trim. Allowing a rushed painting crew to skip this phase guarantees a multi-thousand-dollar renovation will peel, bubble, and crack before the following spring.
I am Oleg, owner of Proper Caulking, and I have spent 18 years inspecting window frames and masonry transitions across our local communities. My technical field experience ranges from managing vintage wood trim vulnerabilities in the historical South End to addressing complex multi-axis wood-to-vinyl transition seams in Tyandaga and Millcroft. Because Burlington experiences intense lake-effect microclimates, standard retail compounds fail rapidly under changing environmental loads.
⏱️ Burlington Service Standard
Premium exterior caulking in Burlington requires high-elongation MS-Polymers or moisture-cure silicones to withstand Lake Ontario’s intense shoreline humidity and dramatic seasonal freeze-thaw cycles. Cheap retail sealants crack within eight months along local window casings, leading to wood rot and hidden energy leaks. To protect your property investment, a professional installation must include total mechanical removal of old materials, deep joint priming, and correct closed-cell backing rod geometry.
I constantly see beautiful architectural coatings fail within eight months simply because a contractor painted directly over deteriorated, unprimed joints. Because of our proximity to Lake Ontario, high shoreline dampness stalls the evaporation phase of cheap retail acrylic-latex caulk, causing it to wash out or lose adhesion.
To resist this coastal humidity, our crews strictly deploy commercial moisture-cure lines like Dowsil 795 or Sikaflex-15 LM to form an un-tearable weather barrier. Let me show you why painting over old compounds ruins your budget, why standard retail silicone fails, and how our 6-step preparation method protects your property asset for decades.
Why Painting Over Old Caulking Ruins Your Investment
Here is what happens when a painter rolls over degraded, cracked exterior caulking without replacing it first. The new paint film seals the surface, but the old sealant beneath it has already separated from the substrate in places.
Moisture, which is relentless in a southern Ontario climate, finds those gaps and works its way in behind the paint layer. Once it is trapped there, it has nowhere to go. Heat from the summer sun causes it to expand, and the paint bubbles up. When temperatures drop, the moisture contracts and the paint cracks or flakes away in sections.
This is not a paint quality problem. Premium exterior paints from manufacturers like Benjamin Moore or Sherwin-Williams are engineered to last for years on a properly prepared surface. The problem is that the surface was never properly prepared.
The new paint looked like a solution, but it was actually a cover. It hid the failing caulk, hid the early signs of moisture intrusion, and hid the beginning of wood rot behind an attractive fresh color. By the time the damage becomes visible again, it has had a full season to go further into the framing.
If you are already seeing soft wood, staining, or interior moisture around your window frames, this problem may have already gone structural. See our article on what a leaking window frame actually means for your home.
The Silicone Trap: Why Retail Caulk Ruins Paint Jobs
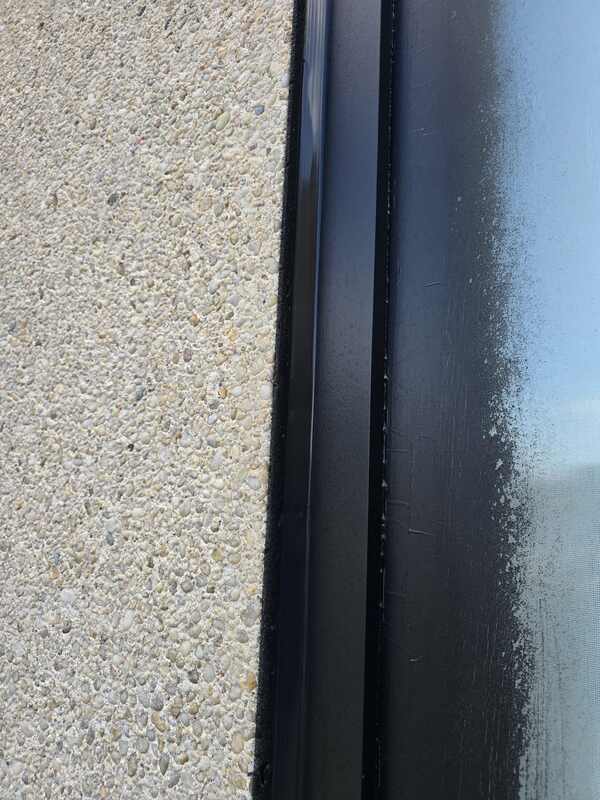
This is where many well-meaning homeowners and even some painters make a costly mistake. They notice the old caulking is cracked, they pull it out, and they replace it with a standard silicone caulk from the hardware store before painting. Problem solved, they assume.
Standard silicone caulk is completely unpaintable. Paint cannot bond to a cured silicone surface. It will bead up and slide off the joint almost immediately, leaving an exposed, unfinished-looking line running around every window and door on your home’s exterior.
If the paint is applied before the silicone is fully cured, it will delaminate and peel within weeks. The homeowner ends up with a paint job that looks worse in that area than it did before anyone touched it.
The material we use at Proper Caulking is a different category of product entirely. Advanced paintable polyurethanes and hybrid sealants, like Dymonic 100, are formulated to accept exterior paint cleanly once they have cured.
They flex with the substrate through thermal movement, they bond aggressively to wood, aluminum, and vinyl, and they give the paint something solid, stable, and fully sealed to adhere to. The paint goes on cleanly, bonds correctly, and performs the way the manufacturer intended it to.
This distinction matters enormously on homes where thermal movement is a real force. Newer builds in Millcroft or Tyandaga, for example, often feature wood-to-vinyl transition seams that expand and contract significantly between winter and summer.
A rigid or poorly bonded sealant will crack and open those seams within a season. A properly specified commercial hybrid sealant stays flexible and intact through years of movement. That is the difference between a paint job that lasts eight months and one that lasts eight years.
Planning to Paint Your Exterior? Fix Your Window Caulking First
Getting window trim and exterior joints truly paint-ready is not a quick step between other tasks. It is a skilled process that requires the right tools, the right materials, and enough time built into the project schedule. Here is exactly how we approach it.
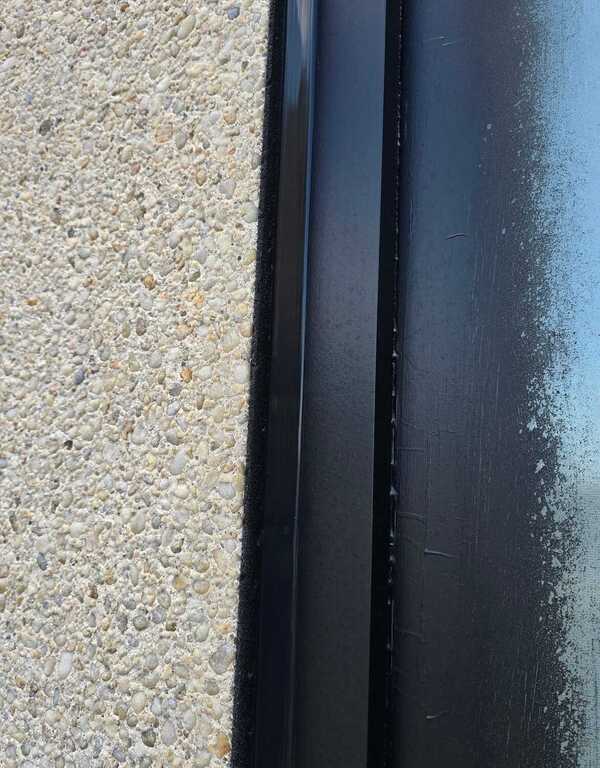
Phase 1: Stripping Brittle Weathered Caulking Down to Bare Substrates
Every trace of the old sealant comes out. Oscillating tools, hook scrapers, and appropriate solvents are used to get the joint completely clean. Any old caulk left behind will eventually fail and pull the new sealant and paint with it. We do not feather over what is there. We start from bare substrate.
Phase 2: Removing Old Paint Overspray and Biological Debris
After extraction, the joint channel is cleaned of dust, old adhesive residue, paint overspray, and any biological material like mold or mildew that has grown in the gap. A contaminated joint will compromise the adhesion of the new sealant regardless of product quality. This step is consistently skipped in quick patch jobs.
Phase 3: Material Dynamics and Joint Expansion Auditing
We assess the width, depth, and movement characteristics of every joint before selecting a sealant. A joint between a wood frame and brick cladding on a Shoreacres heritage home behaves very differently from a vinyl-to-composite seam on a recent Tyandaga build.
Specifying the wrong product for the wrong joint is one of the most common reasons commercial-grade results fail to materialize.
Phase 4: High-Pressure Injection of Paintable Hybrid Polyurethanes
We inject commercial-grade, low-modulus moisture-cure polyurethanes, specifically Tremco Dymonic 100, chosen for its absolute substrate compatibility. This is not a cheap retail tube-gun operation; we utilize industrial pneumatic equipment to ensure completely consistent bead volume and pressure.
This professional-grade delivery forces the heavy compound deep into the joint cavity, completely sealing wood, aluminum, and vinyl transitions before a paintbrush ever touches the frame.
Phase 5: Executing Flush Paint-Line Edge Tooling Profiles
Every single bead is immediately hand-tooled using specialized slicking knives to build a clean, concave profile. This process is critical because it enforces a strict 2:1 width-to-depth structural ratio over our high-density closed-cell backer rods.
For example, a 12mm masonry joint requires a center ribbon thickness of exactly 6mm. This precise geometry forces the wet polymer deep into the pores of your brickwork, creating an immovable two-point adhesion bond that allows the material to stretch flawlessly without tearing off your casing.
Phase 6: Structural Cure-Time Coordination With Local Painting Crews
Applying paint over an under-cured sealant causes immediate solvent trapping, leading to severe chemical wrinkling, paint bubbling, and joint delamination. While cheap retail sealants shrink or skim instantly, a commercial polyurethane requires a specialized timeline.
This commercial compound forms a tack-free skin within 2 hours, but we coordinate directly with your painting contractor to enforce a mandatory 72-hour structural cure window before a topcoat is applied. This ensures the material is completely stabilized, providing a foundation designed to hold premium paint films for over a decade.
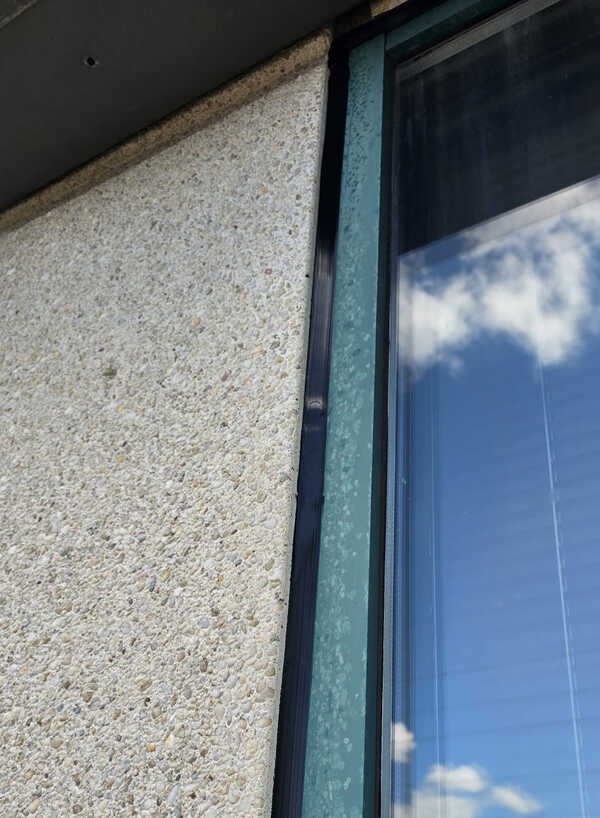
5 Red Flags That Your Exterior Trim Is Not Ready for Paint
Before you sign off on any exterior painting contract, walk around your property to inspect the trim. Checking for these specific failures ensures you don’t ruin a costly investment before a brush ever touches the substrate.
Identifying these structural vulnerabilities early saves your budget from catastrophic moisture entrapment. It allows you to repair the building envelope before the painting crew seals over old defects.
For an in-depth breakdown of how to read the general health of your home’s exterior joins before starting a major property renovation, see our complete caulking tips guide.
Red Flag 1: Caulking That is Cracked, Split, or Visibly Separated from the Frame
Visible gaps along an exterior joint line mean water migration is already actively penetrating the wall cavity. Applying paint directly over a split joint traps moisture, forcing the new coating to bubble and peel within months as the water tries to evaporate outward.
These open gaps also act as severe, direct escape pathways for your home’s indoor climate-controlled air. See our detailed summer guide on how failing exterior seals allow your air conditioning to leak outside, which drives up your monthly household utility costs.
Red Flag 2: Paint That is Already Bubbling or Peeling Near Window Corners
Blistering paint near casing corners is almost always a sign of underlying caulking failure rather than low-quality paint application. The degraded sealant underneath has lost its structural bond, allowing moisture to seep behind the paint film.
Repainting over a failing corner joint without extracting the old polymer underneath guarantees a repeat failure within a single season. It traps water further against the wood framing, accelerating hidden structural dry rot.
Red Flag 3: Caulking That Feels Hard, Chalky, or Crumbles Under Pressure
Healthy commercial architectural sealants must maintain absolute long-term elasticity to move with your home through intense seasonal temperature swings. If the caulk feels rigid, dry, or crumbles when pressed, the polymer matrix has completely broken down due to severe UV radiation fatigue.
Brittle sealant cannot expand or contract along your wood-to-vinyl or brick-to-aluminum transition joints. Because the material is dead, it will split away from the edges immediately and cannot hold a protective coating of paint.
Red Flag 4: Hardware Store Silicone Already Present Around Window Trim
Standard retail 100% silicone possesses a slick surface chemistry that makes it completely unpaintable. New exterior paint cannot form a physical or chemical bond to a cured silicone surface, causing the coating to bead up and flake off immediately.
There is no specialized primer or preparation step that can force paint to stick to consumer hardware-store silicone. The old bead requires complete mechanical extraction down to bare substrate before we can inject a paintable commercial hybrid polyurethane.
Red Flag 5: Missing Caulk at Any Point Along the Window Perimeter
Completely unsealed window perimeters leave your framing exposed to rapid environmental damage. These open joint channels act as primary entry paths for moisture and severe insect infestations during warm summer months.
For technical guidance on how unsealed perimeter joints become pathways for insects, see our article on pest prevention and window caulking. According to official data from Natural Resources Canada, these unsealed framing gaps can account for up to 25 percent of a home’s total structural heat loss.
For professional contractor guidance on substrate and sealant preparation before painting, see Benjamin Moore’s professional painting preparation standards.
Protect Your Renovation Budget. Get the Prep Done Right.
A fresh exterior paint job is one of the most visible investments you can make in your home. It deserves a foundation that will actually hold it. Professional sealing before painting is not an optional extra. It is the step that determines whether your results last a season or a decade.
Call Oleg directly for a live response and a free exterior renovation prep estimate. We coordinate with painting contractors across Burlington and the surrounding Halton Region, and we work around your project schedule so the sealing is done, cured, and ready before your painters arrive. Learn more about all our specialized services at Proper Caulking.
Protect Your Exterior Painting Investment
Don’t let bad prep ruin a costly paint job. Get a free, paint-ready exterior window sealing estimate in the Burlington area today.
Proper Caulking – Burlington, Ontario