
Interior window sealing addresses something most homeowners get wrong about their winter drafts. The cold air you feel near a closed window is rarely leaking through the glass itself. It is almost always escaping from the structural gap between the window trim and the surrounding drywall.
Sealing those interior gaps stops what we call the cold room effect, where one room in the house stays noticeably colder than the rest no matter how high the thermostat goes. It also reduces how hard your furnace has to work, which shows up directly on your heating bill.
Oleg is the Halton expert who tracks down these hidden air pathways that other contractors walk right past. His interior sealing work targets the actual leak source, not just the symptoms.
The Phantom Draft: Where Is the Air Coming From?
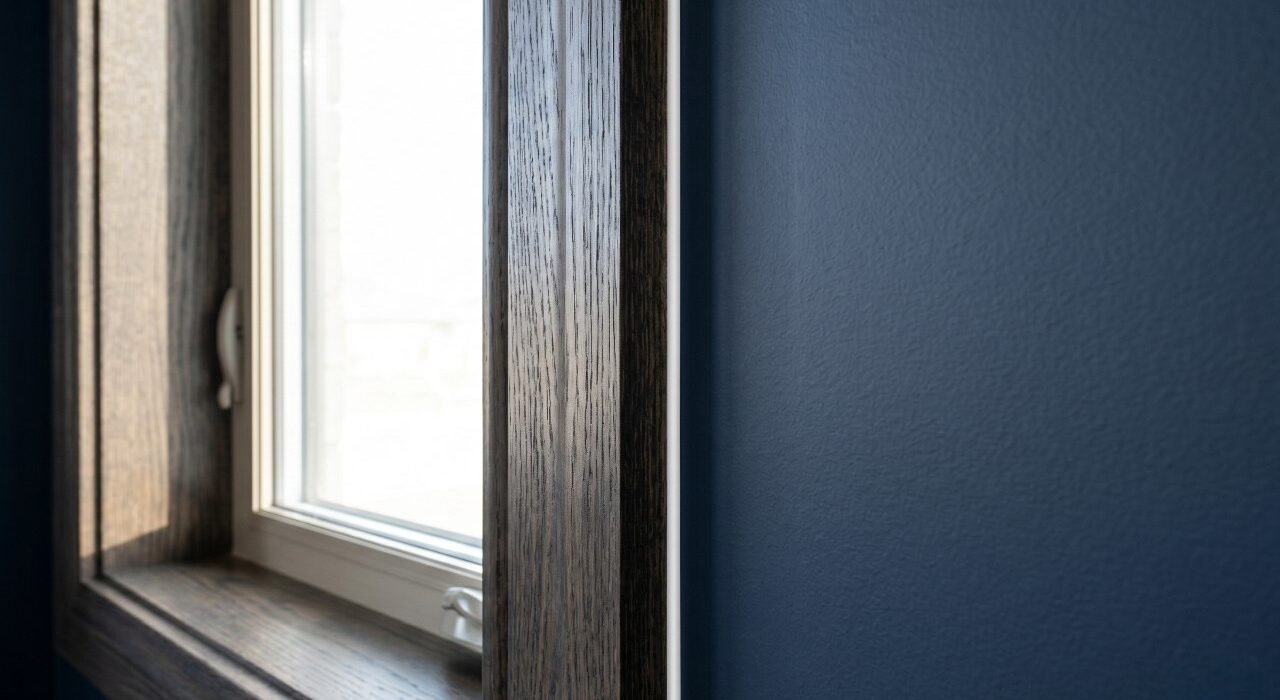
If your home’s windows are completely closed and locked but you can still feel a distinct cold breeze, the issue is almost never an engineering flaw inside the window unit itself. Instead, the freezing air is likely cutting straight through unsealed structural transition points where your interior wooden trim molding interfaces with your finished drywall panels.
Protruding wall systems and window cutouts break the continuity of your home’s main insulation blanket during original construction. This localized insulation deficit creates hidden air pockets behind your interior casing profiles that allow winter drafts to circulate freely inside your wall cavities until they track an open escape pathway.
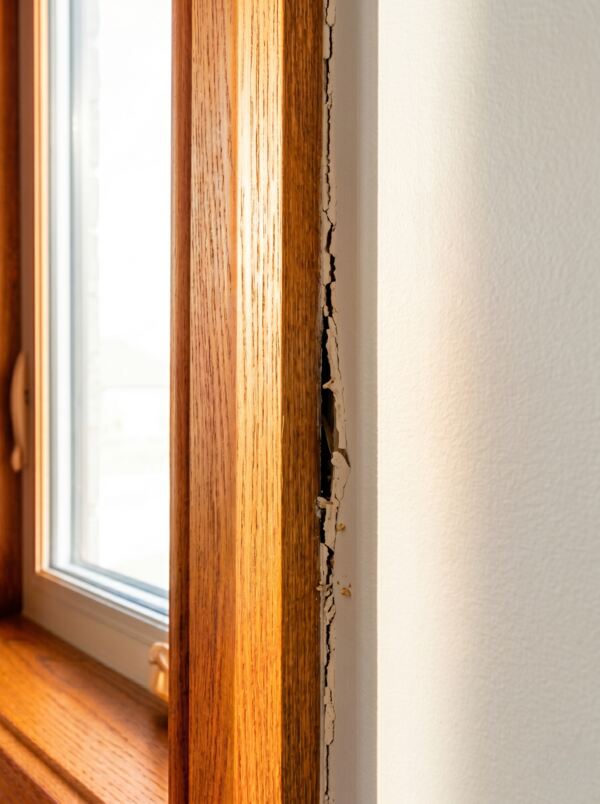
The Casing-to-Drywall Gap
Production homebuilders rarely take the time to properly insulate the deep structural rough openings separating a window jamb from a framing wall stud. This uninsulated cavity gives high-velocity outdoor air a direct tracking path straight through your exterior cladding, completely bypassing the vinyl frame and jetting out from under your interior trim casing.
This hidden pathway represents the single most common source of what local property owners misidentify as a failed glass window seal. If you want to understand how deep these structural air gaps can run across an unshielded building facade, reading our master guide on window frame leaking water outlines how these identical framing cavities track moisture when exterior shields fail.
The Mitred Corner Joints
Solid wood trim moldings naturally lose their internal moisture content and shrink drastically during our low-humidity winter heating months. As this lumber shrinkage occurs, the forty-five-degree mitred corner connections at the top of your window casing slowly pull apart from each other.
This mechanical separation opens up microscopic structural fissures that operate as highly active mini-vents for incoming cold air. While these hairline corner cracks are often far too small to notice from across the room, they are more than large enough to throw off a persistent draft that destabilizes your local room temperature.
Why Plastic Film is a Short-Term Band-Aid
Stretching temporary shrink-wrap plastic film or double-sided tape over a drafty window alcove looks highly unattractive and completely ignores the actual structural leak. This cheap retail fix merely traps moving air on the glass pane while leaving the underlying wall-to-trim cavities open to continuous moisture loading and energy loss.
Executing a precise interior window sealing treatment across your interior molding tracks is the only permanent solution to secure your building envelope. This architectural approach stops your home’s air pathway directly at its mechanical source rather than temporarily covering up a secondary cosmetic symptom.
Our 4-Phase Interior Draft-Stop Framework
Locating and permanently eliminating an interior window draft requires a highly methodical, diagnostic approach rather than just a retail tube of caulk and an uneducated guess. True thermal optimization relies on a disciplined execution order that isolates internal air pathways completely before a single drop of compound is ever extruded.
Phase 1: Thermal Leak Detection
Our technical field division utilizes advanced thermal imaging cameras or detailed tactile hand-testing directly along your window trim perimeters. This diagnostic pass pinpoints the exact structural coordinates where freezing winter air is actively jetting into your living spaces.
This upfront assessment removes all speculation, allowing us to target the actual hidden framing leaks rather than wasting your budget on sealing cosmetic gaps that have zero impact on your utility bills. Pinpointing these invisible drafts allows our crews to map out a precise boundary strategy for your entire room.
Phase 2: Removing Old Builder’s Crack
We systematically cut out and scrape away all degraded, dried-out builder-grade caulk strings clinging to your casing-to-drywall joints. Most local production homes feature a thin, cheap dab of acrylic applied by the original construction crews that degrades over time.
After a decade of structural settling and wood trim shrinkage, that brittle bead dries out, cracks, and splits completely open, doing absolutely nothing to stop indoor air tracking. Injecting high-performance polymers directly over this crumbling material guarantees a messy bond failure, making deep excavation a mandatory step to expose a raw foundation.
Phase 3: Backer Rod Insertion for Large Gaps
Where your wooden window casing has pulled away from the drywall significantly, we pack a high-density, closed-cell backing foam strip deep into the void. This padding insulation chokes out the massive draft pockets while setting the precise material depth required to prevent three-sided adhesion failure within the cured compound.
As detailed in our comprehensive backer rod window sealing guide, providing this underlying depth control allows the finalized bead to expand and contract seamlessly without tearing loose from the substrates. This underlying cushion ensures the joint handles ongoing structural shifts without cracking.
Phase 4: Tooling the Paintable Acrylic Seal
Our installers inject a specified, heavy-bodied paintable acrylic latex compound along every open gap, completely avoiding standard silicone products. Architectural topcoats and interior wall paints will never adhere to a raw silicone surface under any circumstances.
Attempting to paint over a silicone bead causes the liquid coating to crawl, bead up, and peel away completely within a matter of days. The fresh acrylic bead is instantly hand-tooled into a smooth, razor-thin concave profile that disappears completely under a fresh coat of paint to leave a smooth, uniform wall transition.
Lower Your Heating Bills Permanently
Stopping cold air infiltration directly at its structural source is the single most effective way to reduce how often your home’s furnace cycles on during freezing winter months. A drafty, unsealed interior window perimeter forces your central heating system to fight a constant, invisible energy leak all winter long.
This continuous thermal drain forces your equipment to run longer cycles to maintain a stable interior climate, accelerating wear and tear on your mechanical components. Securing these internal casing lines locks your expensive heated air inside, providing immediate, measurable relief on your regional monthly utility bills.
Coordinate Your Interior Air Sealing Assessment Today
Contact Oleg at Proper Caulking to find and permanently seal the hidden internal air pathways running through your home boundaries. Our technical field division methodically scans and seals drafty casing tracks across Oakville, Burlington, and Milton to restore complete air-barrier continuity.
Every single interior sealing job we execute is custom-tailored to stop drafts at their actual structural source, not just mask them with short-term retail covers. Drop a line to our local dispatch office today or visit our online contact page to arrange a comprehensive, zero-obligation on-site thermal evaluation for your property.
Choke Off Winter Drafts and High Energy Bills
Don’t let hidden framing gaps or separated casing corners blow a constant cold breeze into your living rooms. Contact us for a specialized, professional interior window sealing assessment today.
Proper Caulking – Oakville, Burlington & Milton, Ontario
Frequently Asked Questions: Interior Window Sealing
Will caulking the inside of my windows stop condensation?
Completing this procedure helps control indoor fogging by preventing icy outdoor drafts from colliding with warm, humid household air along your window trim. However, if your double-pane insulating glass units have suffered a total desiccant breach, you should review our guide on window condensation seal failure to address the internal glass pane moisture layers.
Can I caulk my window sashes completely shut to stop air leaks?
No, you must never inject permanent caulking compounds into the operable tracks, sashes, or weatherstripping channels of a moving window assembly. Our technical field crews strictly apply thermal seals to the non-moving, fixed structural perimeters where your wooden trim casings meet the adjacent drywall panels.
Do I need to paint the acrylic caulk after your team applies it?
Yes, high-performance acrylic latex compounds should always be painted over once they have fully cured across your trim channels. Leaving raw acrylic exposed to sunlight allows the material to attract airborne household dust and yellow over time, whereas a quality paint topcoat seals the compound and extends its lifespan.
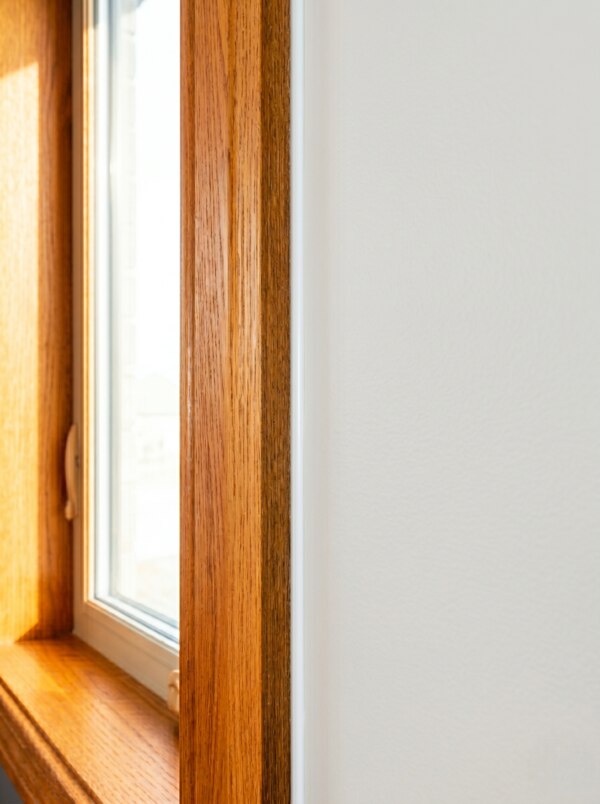
Why is my interior window trim separating from the wall drywall?
This structural separation happens because your home experiences natural foundation settling and major indoor humidity drops throughout the dry winter months. As your wooden casing boards dry out and shrink, they pull away from the rigid drywall, splitting open brittle builder caulking lines and creating hidden pathways for cold air infiltration.