
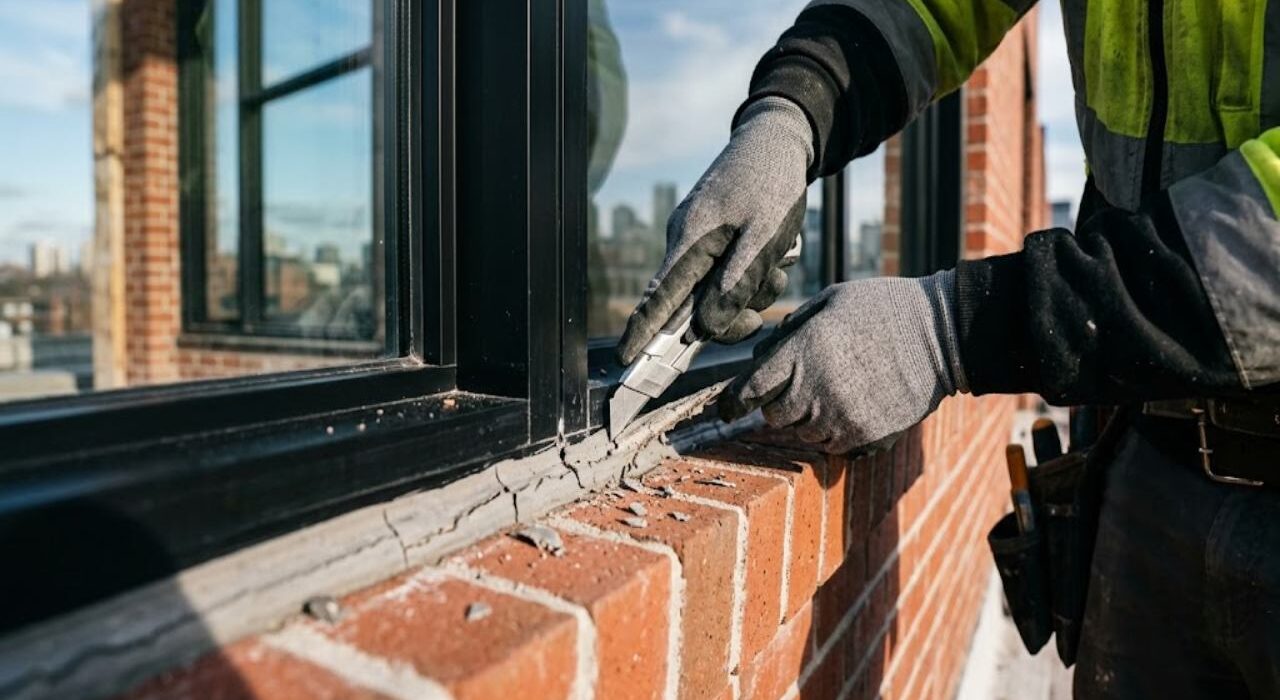
Mastering how to remove old exterior caulking is a foundational step because new engineering sealants cannot establish a secure molecular bond over degraded chemical residues. Attempting to skip a thorough extraction process ensures that the fresh bead will fail prematurely along its structural boundary lines.
Bypassing a meticulous, microscopic removal protocol guarantees immediate material delamination during subsequent Southern Ontario winter freeze-thaw cycles. This adhesive separation allows high-velocity, wind-driven lakeside rain loads to bypass the building envelope and rot the underlying framing.
Exterior Sealant Removal Tools: Mechanical vs. Chemical Solutions
| Tool Name | Substrate Compatibility | Primary Risk / Vulnerability | Ideal Material Target |
|---|---|---|---|
| Breakaway Utility Knives | Glass, anodized aluminium, smooth steel | Substrate gouging; high risk of slicing rubber glazing gaskets | Initial relief cuts on non-porous frame interfaces |
| Oscillating Multi-Tools | Brick masonry, precast concrete, unpainted wood | Scuffing powder coat finishes; slicing into aluminum frames | Rapid shearing of thick, hardened perimeter sealant cores |
| Pneumatic Joint Cutters | Heavy commercial precast concrete panels, stone | Extreme substrate mechanical damage if blade angles shift | Bulk matrix extraction on high-volume commercial joints |
| Hand Scrapers & Pull-Hooks | Brick masonry, concrete, structural timber | Hand slippage resulting in personal injury or finish scratches | Manual scraping of stubborn, recessed backing rod cavities |
| Chemical Digestants | Glass, glazed ceramic tile, stainless steel | Chemical staining on porous stone; etching of finishes | Liquefying microscopic, oily silicone film residues |
| Wire Wheel Attachments | Structural concrete, heavy clay brick, unpolished granite | Complete destruction of mortar joints and brick faces | Stripping deeply embedded polymer roots from raw pores |
The 5-Step Core Recovery Protocol
Step 1: Initial Mechanical Slitting (Relief Cuts)
Begin every removal with a utility knife or oscillating multi-tool, slicing cleanly along both bond lines directly at the substrate interface. This relief cut separates the bead from each adhesion face before any bulk force is applied.
On anodized aluminium framing, hold the blade at a shallow angle and use light pressure only, since the anodized layer scratches permanently under aggressive cutting force. On brick or stone mortar joints, keep the blade tracking along the original sealant line precisely, as a wandering cut will gouge the mortar bed and create a new repair problem.
Step 2: Stubborn Matrix Extraction (The Pull-Hook Method)
Once both bond lines are relieved, use a heavy-duty pull-hook or pneumatic air knife to extract the main core of the old bead in continuous sections. Working in long, steady pulls rather than short jerks keeps the extracted material intact and reduces fragmentation inside the channel.
Every old backer rod and polyethylene bond-breaker tape must be pulled completely from the cavity at this stage.
Any compressed foam or tape remnant left behind will compromise the depth ratio and adhesion geometry of the new installation, which is why technicians must always check internal site specifications regarding our what is backer rod window sealing profiles before installing a replacement layer.
Step 3: Substrate Razor Shaving and Scraping
After bulk extraction, a flush-cutting razor scraper removes the remaining micro-layer of caulk skin still bonded directly to the substrate wall. This residual film is invisible from a distance but fully capable of blocking proper adhesion.
Brittle, chalky old polyurethane shaves off in dry flakes and responds well to a stiff-bladed scraper. Oily, elastic silicone residue smears under the same blade instead of lifting cleanly, requiring slower, more deliberate scraping passes at a flatter blade angle.
Step 4: Chemical Digestion and Solvent Flushing
With the bulk material removed, a chemical digestant breaks down the remaining molecular film bonded at the surface level. Silicone digesters are formulated specifically for siloxane films, while heavy-duty urethane dissolvers are required for any residual polyurethane chemistry, since the two residues do not respond to the same solvent class.
Apply the digestant according to the product’s stated dwell time, then flush the channel thoroughly with professional preparation materials like Sika Cleaner-205 Surface Pre-Treatment before any further work proceeds. Full ventilation is mandatory throughout this step, and the joint must be given its complete evaporation window before any new material is introduced.
Step 5: The Final Adhesion-Ready Reconnaissance (The Two-Rag Wipe)
Scrub the bare channel with a clean wire brush or coarse abrasive pad to remove any final loose particulate from the solvent stage. This mechanical pass also reveals any remaining residue spots that solvent alone did not fully lift.
Finish with the mandatory two-rag wipe: the first rag dampened with isopropyl alcohol removes any final film, oil, or frost, and the second rag, completely dry, follows immediately to prevent refreezing or solvent residue from remaining on the surface. Skipping this meticulous detailing sequence explains exactly why does caulk crack in Burlington weather when fresh beads are gunned over an unprepared substrate surface.
Substrate-Specific Removal Safeguards
Concrete and Brick Masonry
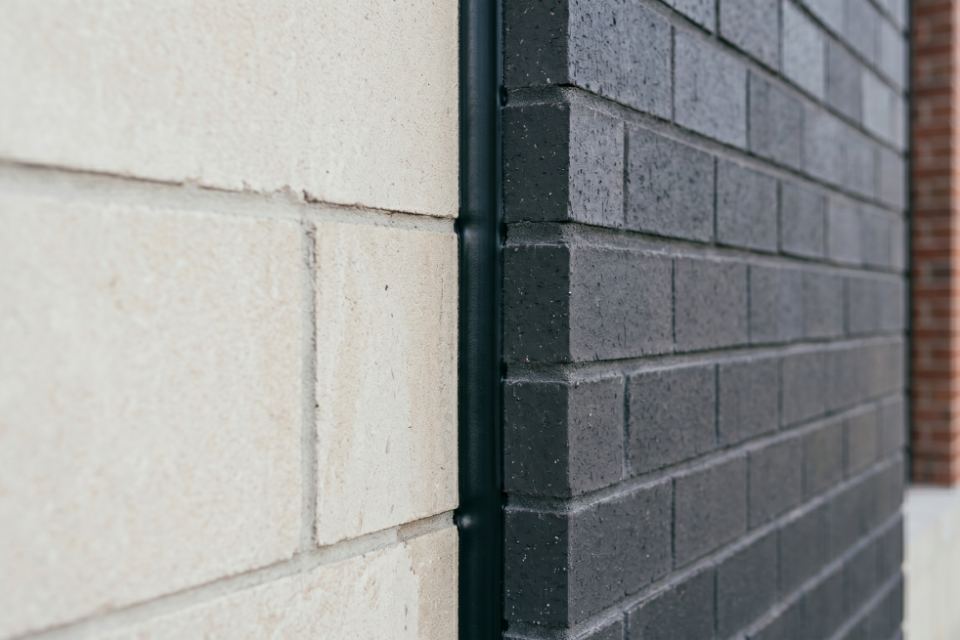
Porous substrates allow old sealant to sink deep into the surface pore structure, well beyond what a surface scrape alone can reach. A wire wheel attachment is the correct final tool here, working in light, controlled passes to avoid widening or destroying the mortar bed surrounding the joint.
Grinding away these deep, embedded polymer roots is a required step to ensure that the replacement bead forms a solid, primerless bond with the raw stone or brick faces. Failing to clear out these buried residues creates a compromised boundary layer that leads directly to failure along your brick masonry expansion joint caulking paths when cold weather hits the Halton Region.
Anodized Aluminium and Glass
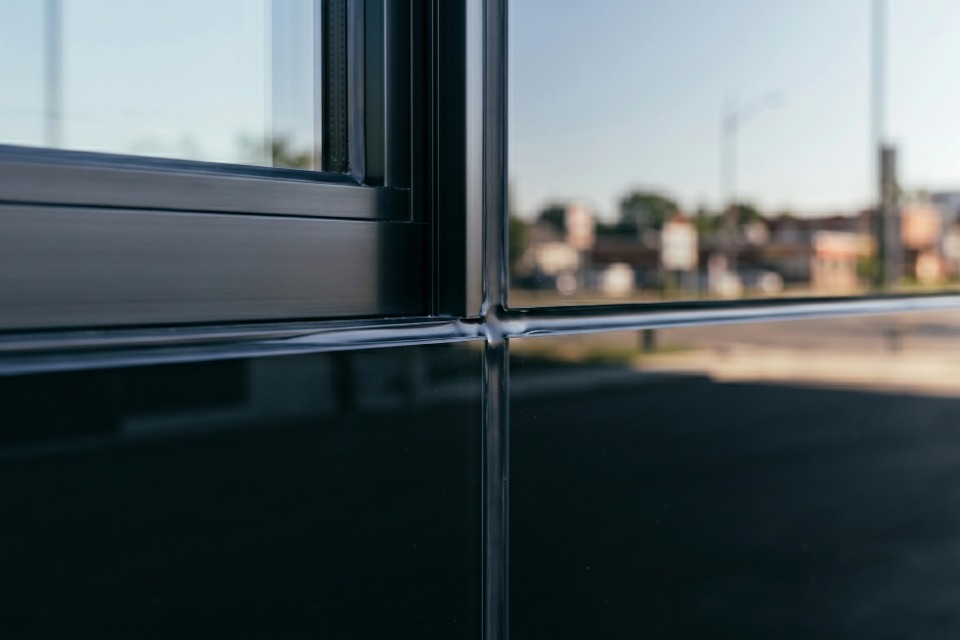
These substrates carry the highest liability risk on any commercial or high-end residential job, since a single scratch on glass or a stripped section of structural powder coating cannot be repaired on site. Metal scraping tools are restricted entirely on these surfaces, with plastic scrapers or precisely controlled razor techniques mandated for every pass.
If a field crew scratches an anodized metal coating, it ruins the architectural finish and opens an active path for corrosion to form under the building envelope. Stripping these factory coats compromises the adhesion zone completely, leading directly to a window frame leaking water in Burlington during the next severe lakeside autumn storm cycle.
Specification Checklist: The Bare Substrate Inspection
Before a site supervisor permits a crew to install a fresh backing rod or tool a new elastomeric sealant bead, the prepared joint must pass this five-point field verification:
- Visual Material Absence: The substrate walls must display 100% bare wood, metal, masonry, or glass, with zero visible tracks, stains, or flakes of the old caulking matrix remaining.
- The Tactile Friction Test: Sliding a clean, gloved finger along the inner joint wall must reveal a rough, high-friction texture, proving that all slippery, oily silicone films have been chemically eliminated.
- Mortar and Frame Integrity: The surrounding brick mortar lines must be structurally intact, and all anodized finishes must be free of deep gouges or structural scratches.
- Moisture and Frost Clearance: The internal cavity must be completely dry to the touch, with no trace of moisture or invisible micro-frost sheets across the adhesion faces.
- Cavity Depth Uniformity: The cleared channel must maintain an open profile for uniform backing installation. We enforce a strict 2:1 structural ratio across vertical seams to prevent cohesive tearing. For a 12mm wide window joint, our field crews tool the center thickness to exactly 6mm.
Executing this thorough remediation process is a non-negotiable requirement for high-exposure projects, ensuring long-term durability for premium commercial exterior caulking services across the GTHA.
Investing the necessary labor into total substrate preparation protects the building envelope and helps property owners save on AC bills with strategic caulking in Burlington over extended real estate lifecycles.
Stop Leaks at the Root Level
Applying new caulk over old, failing sealant is a guarantee for future water damage. Contact our skilled field technicians today for a professional, total-extraction caulking replacement assessment.
Proper Caulking – Oakville, Burlington & Milton, Ontario
Frequently Asked Questions: Removing Old Exterior Caulking
Why can I not just apply a fresh layer of premium silicone straight over old, cracked caulking?
New sealants require completely clean, raw material surfaces to establish correct molecular adhesion. Gunning fresh caulk over an old, degraded bead will fail immediately because the new material simply bonds to a failing, dirty surface layer that easily peels away from the building.
Will standard commercial pressure washing clear out old polyurethane residues from brick joints?
No, pressure washing cannot remove cured caulking matrices and will simply inject large volumes of pressurized water deep behind your failing joints. This moisture saturates the internal framing, creating a severe mold risk and preventing the dry conditions needed for new sealant to cure.
How do I know if the old material I am trying to remove is a silicone or a polyurethane compound?
Aged polyurethane typically dries to a rough, faded, leathery finish that becomes hard or chalky over a decade of direct Canadian sun exposure. Old silicone retains a smooth, rubbery feel, repels water droplets aggressively, and leaves a highly noticeable oily residue on your fingers when rubbed.
Is it safe to use heat guns to melt stubborn exterior caulking lines off metal window frames?
No, using open heat guns is highly discouraged because the high temperatures can easily scorch architectural powder coatings and warp underlying vinyl components. Excessive thermal exposure also carries a significant risk of cracking insulated glass units due to sudden, uneven thermal expansion across the pane edges.
What happens if trace amounts of chemical caulk remover are left unrinsed inside the joint cavity?
Any active chemical digestant left behind inside the joint will attack and dissolve your fresh caulking bead from the inside out as soon as it is applied. Installers must always run a final solvent flush using clean industrial supplies like Sika Corporation Cleaners and execute a manual wipe down to guarantee all active stripping agents are completely neutralized and gone.