
It is mid-July in Burlington, your AC has been running non-stop, and your living room still feels like a sauna. If you are ready to save on AC bills Burlington homeowners are struggling with right now, you need to stop the leak before it drains your wallet. In my 18 years of sealing homes across the Halton Region, I have learned that nine times out of ten, the problem isn’t a dying air conditioner. The real issue is that your expensive, cooled air is actively escaping into the backyard through dried-out, failed exterior window and door seals.
I am Oleg, owner of Proper Caulking, and I have spent nearly two decades tracking down these invisible energy thieves. Most people assume their HVAC system is failing and spend thousands on unnecessary repairs when the building envelope is the true culprit. Let me show you why your climate-controlled air is leaking, why a hardware store patch will fail, and how professional window sealing for energy efficiency can immediately drop your monthly Ontario hydro bills.
The Hidden Energy Thieves: How Cool Air Escapes Your Home
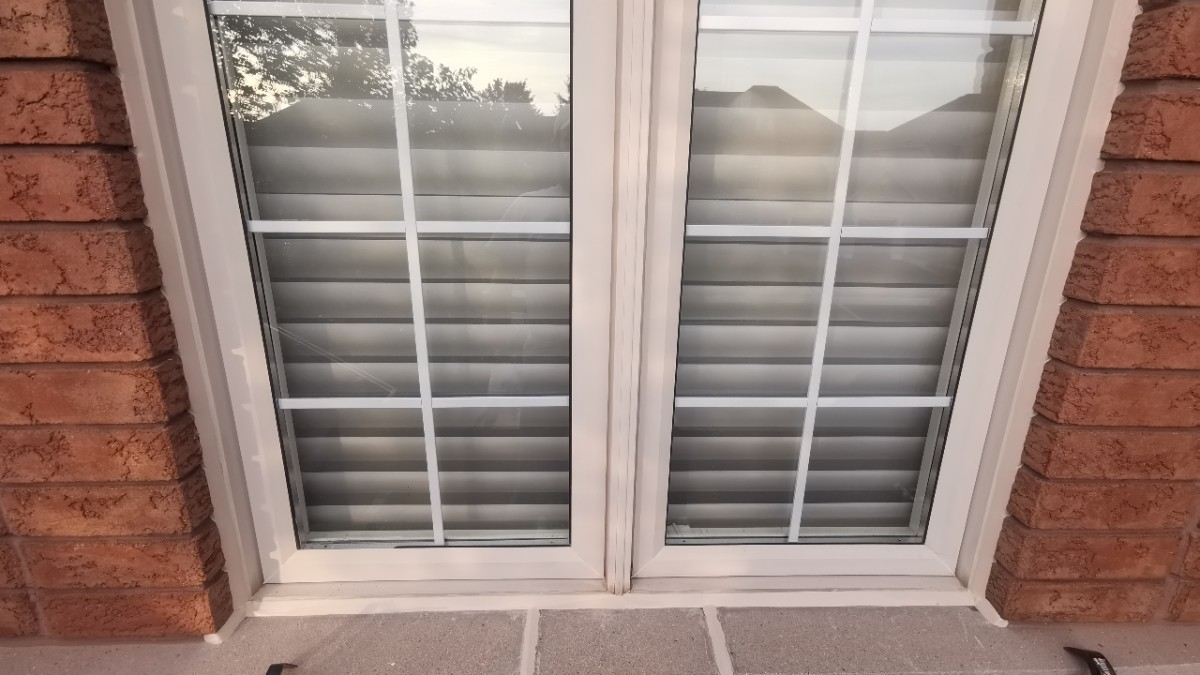
Here’s the physics that most homeowners don’t think about: cool air is denser and heavier than warm air. When your AC cools your home, that heavy, conditioned air naturally sinks and pushes outward, looking for any gap or crack to escape through. At the same time, hot outdoor air (and we’re talking 30°C plus on a summer afternoon in Burlington) is trying to get inside. Every failed seal, every hairline crack in your exterior caulking, every gap around a window frame becomes a two-way highway for air exchange.
This process is called air infiltration, and it’s one of the biggest contributors to high energy costs in Canadian homes. According to Natural Resources Canada, air leakage accounts for roughly 20 to 30 percent of seasonal energy loss in older homes. Depending on the age of your property, these hidden cracks and gaps can waste anywhere from $250 to over $1,000 in extra utility costs every single year. That is money you are spending on hydro and heating literally disappearing through your walls.
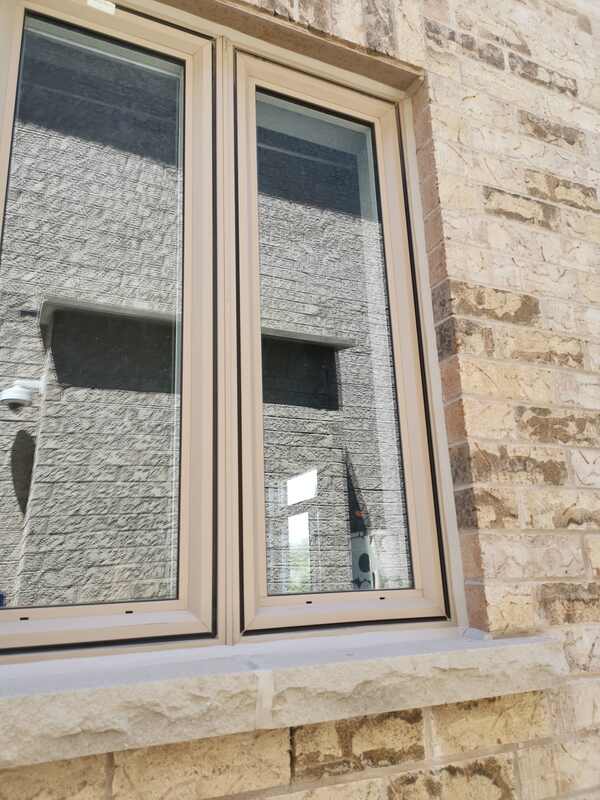
I see this constantly in older Burlington neighborhoods like Shoreacres and Roseland, where homes were built in the 60s and 70s with original caulking that’s now 40 or 50 years old. That material has been through hundreds of freeze-thaw cycles, baking summers, and punishing UV exposure. It’s cracked, shrunk, and pulled away from the substrate. Even newer builds in Alton Village or The Orchard aren’t immune. High wind exposure off the lake combined with rapid settling in new construction can create gaps within the first five years.
When your exterior seals fail, your AC works overtime trying to maintain temperature. It runs longer cycles, uses more electricity, and still can’t keep up because it’s fighting a losing battle against constant air exchange. You’re not cooling your home efficiently. You’re cooling your entire neighborhood.
Why DIY Sealing Fails the Summer Thermal Test
I’ve lost count of how many times I’ve been called to a home where the owner tried to fix drafty windows in summer with a tube of caulk from the big box store. It looks fine for a few weeks, maybe even a few months. Then the next heatwave hits, and the whole thing falls apart. Literally.
Here’s why: retail-grade latex or acrylic caulking isn’t designed for the extreme thermal stress that Ontario exteriors experience. When direct sunlight hits a brick wall or vinyl siding in July or August, surface temperatures can exceed 45°C. At night, it drops to 15°C or lower. That’s a 30-degree temperature swing happening every single day, all summer long.
Cheap caulk can’t handle that kind of expansion and contraction. The substrate (your window frame, your siding, your trim) is expanding and contracting with the heat. The caulk needs to move with it. Latex caulk doesn’t. It turns brittle, cracks, and separates from the surface. By the end of the summer, you’ve got gaps again. Sometimes worse than before.
Professional-grade sealants like Dymonic 100 or Solar Seal are engineered specifically for these conditions. They stay flexible at temperature extremes. They bond to multiple substrates (wood, vinyl, aluminum, brick, stucco). They’re rated for 20-plus years of UV exposure without breaking down. They cost more, sure. But they actually work. And when you’re trying to reduce hydro bills Ontario residents are struggling with, a product that works for 20 years instead of 6 months is a no-brainer investment.
The other problem with DIY caulking? Most people don’t remove the old material first. They just run a new bead over top of the failing stuff. That’s like putting a fresh coat of paint over rust. It looks better temporarily, but the underlying problem is still there, and it’s going to fail even faster because the new caulk has nothing solid to bond to.
The Proper Caulking Shield: Our 6-Step Energy Sealing Method
When we come to your home to address air infiltration and help you save on AC bills Burlington homeowners are asking about, we don’t just show up with a caulking gun and call it a day. This is a methodical process that I’ve refined over 18 years, and it’s the reason our seals last decades instead of months.
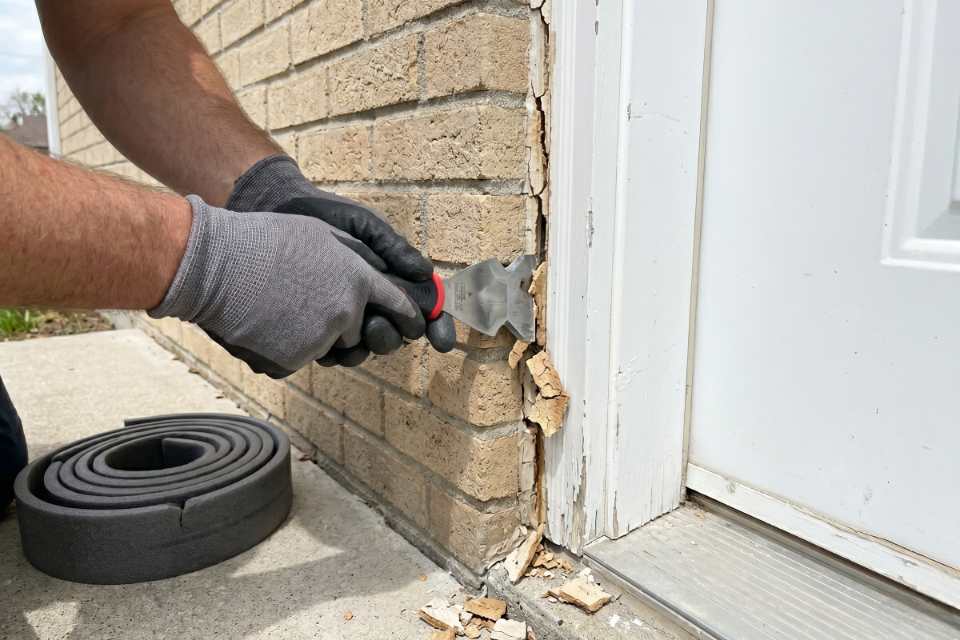
Phase 1: Complete Removal of Brittle Thermal Leaking Seams
We cut out and remove every bit of the old, failed caulking down to a clean substrate. All of it, without exceptions, down to bare, raw brick, wood, or stone masonry faces.
This is highly time-consuming, unglamorous field work, but it is entirely non-negotiable for building envelope efficiency. A proper airtight bond requires a clean surface, and feathering over old material leaves hidden drafts wide open.
Phase 2: Removing Embedded Atmospheric Pollution and Contaminants
We use professional-grade cleaners to completely strip away dirt, oils, old caulk residue, mold, and mildew. If the structural surface is not pristine, the fresh climate sealant will not adhere properly, causing it to delaminate within a year or two.
This meticulous chemical prep is consistently skipped in quick retail patch jobs, causing immediate draft failures. Taking the time to flush the cavity ensures a contaminant-free surface for a permanent, airtight seal.
Phase 3: Flashing Infrastructure and Weep Hole Drainage Auditing
Before we inject any fresh compound, we thoroughly inspect the actual window installation. We verify that your underlying flashings are structurally intact, check for hidden water damage, and ensure that your functional drainage weep holes remain fully unobstructed.
If there is a hidden structural framework issue or active cavity rot behind the trim, we locate and flag it now rather than sealing over it blind. This diagnostic approach guarantees your home’s envelope remains protected from the inside out.
Phase 4: Establishing Closed-Cell Backing Rod Insulation Support
For deeper joints, which encompass most exterior window perimeters, we install a foam backer rod to the correct depth. This structural foam supports the weight of the sealant, prevents it from sagging into deep voids, and ensures it cures in the proper shape for maximum flexibility and weather resistance.
Bugs and outdoor temperature shifts cannot penetrate high-density closed-cell foam. It acts as a permanent secondary thermal and air insulation barrier in its own right to stop intense energy drafts.
Phase 5: High-Performance Application of Climate-Rated Polymers
We apply strictly commercial-grade architectural silicones and polyurethanes engineered specifically for brutal southern Ontario seasonal shifts. These elite polymers are rated to maintain absolute elasticity from -40°C winter freezes up to +80°C direct solar baking without cracking or peeling.
Before injection, our field crews execute digital substrate moisture testing; applying high-performance moisture-cure polyurethanes onto sun-baked or damp framing causes sudden chemical outgassing blisters that lead to premature joint collapse. We inject the compound using precision pneumatic tooling at manufacturer-specified thickness levels to completely block dynamic energy loss loops.
Phase 6: Precision Concave Edge Tooling for Optimal Air Tightness
We do not just run a bead and walk away; our crews profile every single seam using specialized slicking tools to construct a perfectly flush, concave bead. This hand-tooling process forces the wet polymer deep into the microscopic pores of your brickwork and framing substrates, destroying hidden air leak paths.
We enforce a strict 2:1 width-to-depth structural ratio over the high-density closed-cell backer rod (p. 7). This exact geometry ensures the center of the cured rubber ribbon measures exactly half the thickness of the outer anchor lines, allowing the material to expand up to 100% of its original shape without peeling off your masonry facades (p. 8).
To explore our comprehensive array of weatherproofing options for your property envelope, visit our homepage to see our full range of professional exterior sealing services customized to eliminate dynamic draft and moisture points.
5 Red Flags Your Exterior Seals Are Leaking Expensive AC
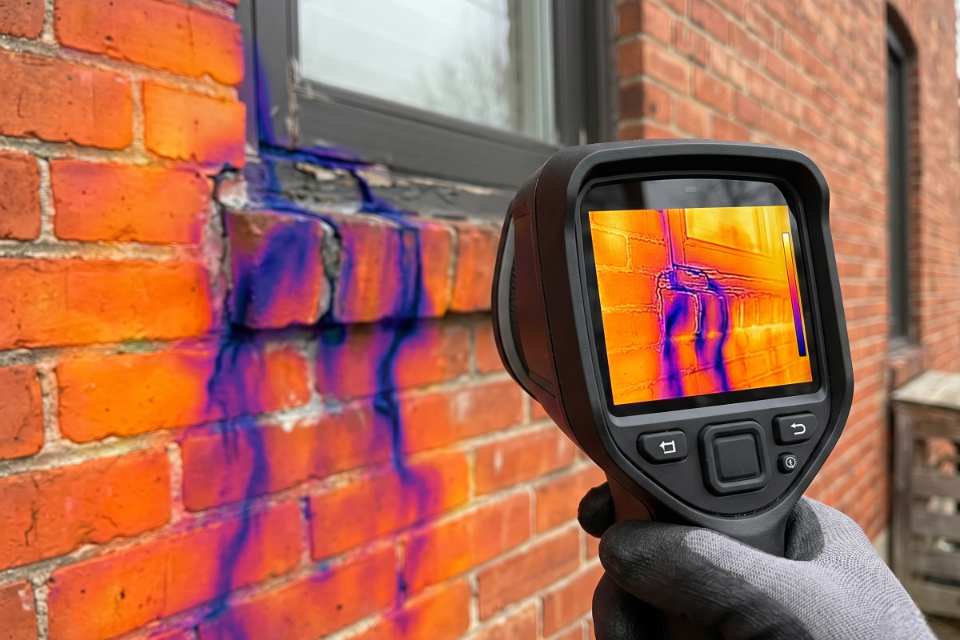
Not sure if your home is losing cool air through failed seals? Here’s what I look for during energy audits:
- Visible cracks, gaps, or separation in the caulking around exterior window and door frames
- Your AC runs constantly but the house never feels as cool as the thermostat says it should be
- Noticeably higher hydro bills in summer compared to previous years, even though your usage hasn’t changed
- Rooms that are always warmer than others, especially on the sunny side of the house
- You can feel a draft near windows or doors even when they’re closed and locked
If you’re checking off two or more of these, you’re losing money every single day. And the longer you wait, the more you pay.
Stop Paying to Cool Your Backyard
Here is the bottom line: your home’s envelope is supposed to operate as a completely sealed container. When it is not, your HVAC system is constantly fighting an uphill battle it cannot win, and you are footing the bill for the losing effort.
Professional window sealing for energy efficiency isn’t just about indoor comfort, though that is a fantastic luxury bonus. It is about taking direct control of your monthly operating expenses and stopping the financial bleed that happens every single time your air conditioning kicks on.
I have seen local properties where executing a proper exterior sealing program reduced summer hydro bills by 20 to 30 percent. That is real, substantial money remaining in your bank account instead of disappearing into thin air.
That translates to saving $50, $75, or sometimes $100 or more every single month that stays right in your pocket. If you are tired of watching your hard-earned money evaporate through frame gaps you can’t even see, it is time to call a trade specialist who can actually fix the problem permanently.
At Proper Caulking, we offer comprehensive, zero-obligation home energy assessments across the Halton region. I will personally come to your property, show you exactly where you are losing conditioned indoor air, explain what it is costing you, and provide an honest quote for a permanent weatherproofing solution.
We offer straight talk with zero sales pressure, delivering high-movement silicone installations engineered explicitly to withstand intense Ontario climate shifts. Stop sharing your expensive, climate-controlled air with the neighborhood before the peak summer heat waves arrive.
To evaluate our extensive menu of architectural building envelope protections, you can examine our main diagnostic gallery to analyze our full range of professional weatherproofing solutions.
Our regional trade specialists install high-movement, commercial-grade exterior polymers engineered explicitly to seal deep moisture migration paths and permanently block structural draft points throughout the Halton community
Stop Paying to Cool Your Burlington Backyard
Get a free, no-obligation summer home energy assessment from an 18-year local window sealing expert.
Proper Caulking – Burlington, Ontario