
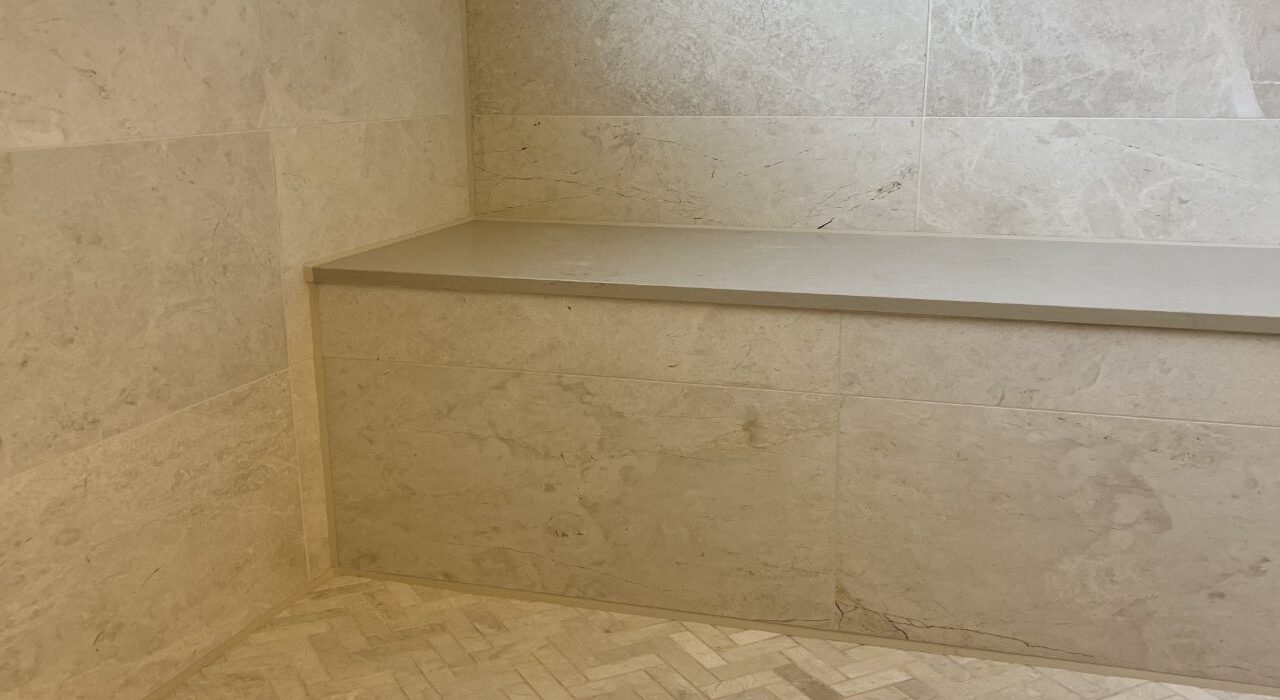
Mastering a proper shower silicone replacement is the only reliable way to protect the hidden bathroom framing behind your tile from structural rot and black mould proliferation. A bathroom that looks visually clean on the surface can still be hiding a fully active moisture problem behind the tile track.
Failing joints behind tile tracks and along tub ledges allow grey water to slowly saturate drywall and degrade the structural floor joists beneath the shower pan. By the time staining appears on a ceiling below, the framing has typically been absorbing moisture for multiple seasons already.
PRODUCT SELECTION GUIDE: BEST CAULKING TYPES FOR BATHROOMS
Different bathroom caulking formulas dry and harden using completely distinct chemical processes. Before starting an interior project, use this matrix to match the correct product class to your current shower or tub conditions.
| Sealant Formula | Chemical Profile | Shore A Hardness | Cure Mechanism / By-product | Paintability & Adhesion Focus | Mould/Mildew Resistance Lifespan |
|---|---|---|---|---|---|
| Acetoxy Cure Silicone | Standard acid-cure, vinegar-scented during cure | 15 to 25 | Acetic acid release during crosslinking | Not paintable, strong on non-porous tile and glass | 1 to 3 years before biocide depletion |
| Alkoxy Neutral Cure Silicone | Premium sanitary-grade moisture-cure | 20 to 30 | Non-corrosive alcohol byproduct | Not paintable, safe on stone and metal fixtures | 5 to 10 years with active biocide loading |
| Silyl-Modified Polymer (SMP/MS-Polymer) | Hybrid moisture-cure, no silicone oils | 30 to 45 | Non-corrosive, oil-free crosslinking | Fully paintable, exceptional adhesion to wet substrates | 10+ years, superior long-term mould resistance |
The 5-Step Sanitary Restoration Protocol
The mechanical execution of a professional bathroom seal restoration requires an uncompromising multi-stage preparation framework. Skipping these precise steps guarantees that your new installation will experience immediate edge failure and moisture tracking.
Step 1: Mechanical Core Exclusion (The Relief Slice)
Use a specialized plastic scraper or a low-angle razor blade to slice the old sealant bead cleanly away from the acrylic tub, fibreglass insert, or glazed tile face. Working the blade completely flat and shallow prevents scratching premium plumbing fixtures that a standard metal tool would otherwise gouge instantly.
This relief slice must run the full length of both adhesion faces before any physical pulling force is applied to the old bead. Rushing this initial slitting process tears the material unevenly and leaves stubborn, microscopic fragments permanently bonded to the substrate boundaries.
Step 2: Molecular Film Digestion
Apply a high-strength commercial silicone digester paste to break down the invisible, slippery siloxane oil film that remains inside the substrate pores after the bulk bead is removed. This residual chemical film is completely undetectable by eye but entirely prevents the structural adhesion of any new compound applied directly over it.
Fresh silicone gunned over this contaminated, oily film will delaminate and peel almost immediately, often within days of project completion. The chemical digester paste must be given its full manufacturer-specified dwell time before the surface is wiped clean and prepared for sanitation.
Step 3: Biocidal Sanitation and Residue Flush
Hidden mould spores embedded deep within open tile grout lines or along the tub lip must be systematically destroyed using pure isopropyl alcohol or a targeted biocidal cleaner. Living spores sealed beneath a fresh bead continue to feed on trapped moisture regardless of how well the top surface of the new silicone bonds.
A sealant bead applied over active, living spores will visibly blacken from underneath within a few months, rendering the installation useless. To review how these severe biological contamination problems look when they breach your building envelope, read our diagnostic report on why exterior caulking cracks and fails early.
Step 4: Joint Drying and Compression Preparation
Direct a professional heat gun carefully into the open joint channel to drive out any residual, trapped moisture hidden behind the tile ledge or tub lip before sealing. Trapped moisture beneath a freshly cured bead completely blocks structural bonding and causes premature adhesive failure regardless of the silicone grade applied.
If you are sealing a flexible acrylic or steel tub specifically, the bathtub must be filled completely with water before any caulking begins. This step simulates the heavy real-world structural compression load the tub experiences during actual use, ensuring the cured bead accommodates that physical flex rather than cracking the first time the tub is used.
Step 5: The Perfect Sanitary Bead Application (Tooling the Hourglass)
Gun a continuous, uninterrupted bead of premium neutral-cure anti-mould silicone along the fully prepared joint in a single, steady pass. Stopping and restarting mid-joint creates an immediate weak point where two separate chemical bead sections meet rather than fusing into one continuous seal.
The bead must be tooled and smoothed using a dry-gloved finger or a professional dry tooling profile, never a soapy water spray. Soapy water residue left inside the joint degrades edge adhesion over time, undermining the exact bond the entire preparation process was designed to protect.
For a full architectural breakdown of which interior sealant products best suit different domestic substrates, consult our guide on interior kitchen and bathroom silicone caulking.
Substrate-Specific Bathroom Safeguards
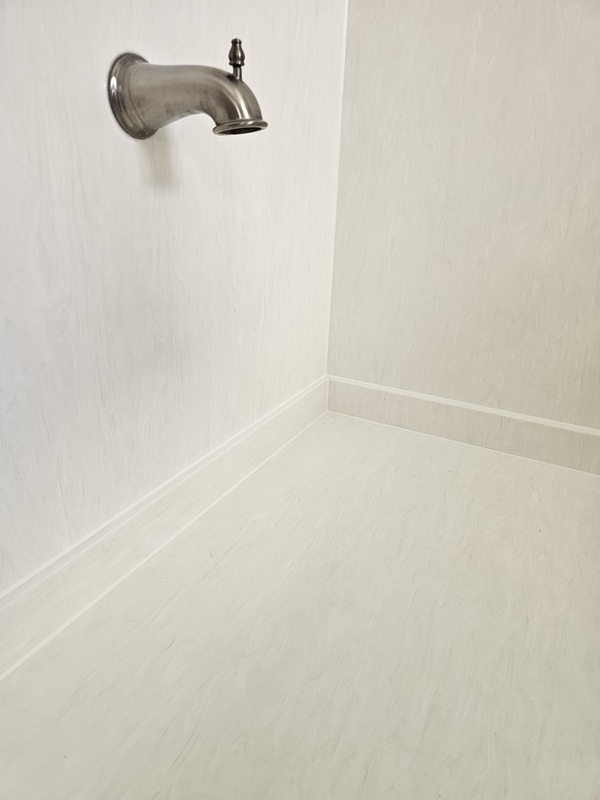
Tailoring your installation methodology to the unique chemical and mechanical properties of each specific bathroom surface prevents costly, permanent damage during a shower silicone replacement. Failing to adapt your tooling approach to delicate finishes guarantees structural staining or structural scratching.
Natural Stone (Marble and Granite)
Standard acetoxy silicone releases aggressive acetic acid byproducts during its cross-linking cycle, which permanently etches and deep-stains porous natural stone like marble or granite within weeks of application. This severe chemical reaction leaves an irreversible, oily discolouration radiating outward from the caulk line right into the stone slab pores.
Non-bleeding neutral alkoxy formulations are completely mandatory on every natural stone surface inside a luxury bathroom enclosure. For a complete guide on selecting food-safe, non-bleeding sealants for premium residential stone perimeters, read our master breakdown on backsplash and countertop sealing.
Acrylic Tubs and Fibreglass Units
Standard metal blades and scrapers will gouge soft acrylic and fibreglass surfaces almost instantly, leaving deep, permanent scratches that stand out under any bathroom lighting angle. Specialized plastic scraper profiles, shaped specifically to glide along curved tub rims and composite shower insert tracks, are strictly mandatory for all non-porous synthetic removal work.
Commercial chemical softening agents must be applied ahead of any mechanical scraping to safely dissolve the old bead’s adhesion before tool contact is made. Relying entirely on manual blade pressure without a chemical loosening agent is the primary cause of ruined tub surfaces during DIY bathroom restoration attempts.
Specification Checklist: The Adhesion-Ready Inspection
Before any fresh sanitary sealant enters the joint, site supervisors or homeowners must run a comprehensive surface audit to confirm these five trade parameters are met in full. Skipping this final check guarantees immediate delamination and moisture tracking behind your tile tracks.
The 5-Point Adhesion Verification Protocol
- 1. Zero Tactile Oil Film: Run a dry, clean finger along the entire joint length to confirm zero tackiness or residual siloxane oil film remains on either substrate face.
- 2. Biological Clearance: Visually inspect every grout line and tub lip section for any remaining dark spotting that indicates surviving mould deeply embedded beneath the surface.
- 3. Absolute Thermal Dryness: Confirm the substrate has been fully dried with no residual moisture detected at the tile ledge or tub lip after the heat gun pass.
- 4. Compression Load Engagement: If sealing a tub unit, confirm the fixture is filled completely with water and the structural compression load is fully engaged before gunning the bead.
- 5. Substrate Decontamination: Confirm the full joint length is completely free of dust particles, soap residue film, and any leftover chemical digester paste before the gun is loaded.
A joint that fails any single one of these five technical parameters is not ready, and proceeding anyway guarantees immediate project failure. To review the mandatory national moisture protection and waterproofing criteria required for residential tile layouts, consult the complete architectural standards published by the Terrazzo, Tile and Marble Association of Canada.
LOCK IN YOUR EXPERT SHOWER SEAL RESTORATION
Reach out to Oleg at Proper Caulking to schedule a comprehensive interior joint assessment and halt hidden water leaks before they compromise your subfloor. Our residential remediation crew serves homeowners throughout Oakville, Burlington, and Milton, specializing in total silicone extraction, deep biocidal decontamination, and precision application of premium sanitary-grade compounds.
Every custom bathroom project we complete is meticulously planned to stop structural rot, eliminate black mould colonies, and protect expensive stone vanities or acrylic fixtures. Call our local team directly or use our digital scheduling system today to book your detailed, zero-obligation on-site inspection.
Eliminate Hidden Bathroom Water Tracking
Failing tub seals and active mold spores compromise your wall framing. Reach out to our interior sanitary sealing specialists today to fully decontaminate your enclosure with premium neutral-cure polymers.
Proper Caulking – Oakville, Burlington & Milton, Ontario
Frequently Asked Questions: Shower Silicone Replacement
How long does a shower silicone replacement take to fully cure before I can shower again?
Premium neutral-cure and SMP formulas typically reach a safe initial cure within 24 hours, though full chemical cure can take up to 72 hours depending on bathroom humidity levels. Avoid direct water contact on the fresh bead for at least 24 hours to prevent surface disruption during the critical early cure window.
Why does my new silicone keep turning black within a few months of replacement?
This is almost always caused by sealing over surviving mould spores that were never properly killed during the biocidal sanitation step. The mould is growing from beneath the bead outward, not from surface contamination, which means it cannot be cleaned away without full removal and proper resealing.
Can I use the same silicone on my shower tile and my acrylic tub lip?
Yes, provided the product is a neutral alkoxy or SMP formula rated for both ceramic and acrylic adhesion. Acetoxy formulas should be avoided on both substrates due to their acidic cure byproduct and shorter mould-resistance lifespan.
Is it safe to use a standard acetoxy bathroom silicone on a granite shower bench?
No, this is one of the most damaging mistakes a homeowner can make. The acetic acid released during acetoxy curing permanently etches and stains porous granite, and the damage cannot be reversed once it occurs.
Why did my previous silicone replacement fail within weeks instead of years?
This failure pattern almost always traces back to skipping the molecular film digestion step, leaving invisible siloxane oil residue on the substrate that prevented proper adhesion from the start. A correctly executed five-step protocol, including digestion and full drying, should produce a bead that lasts five to ten years depending on the formula selected.