
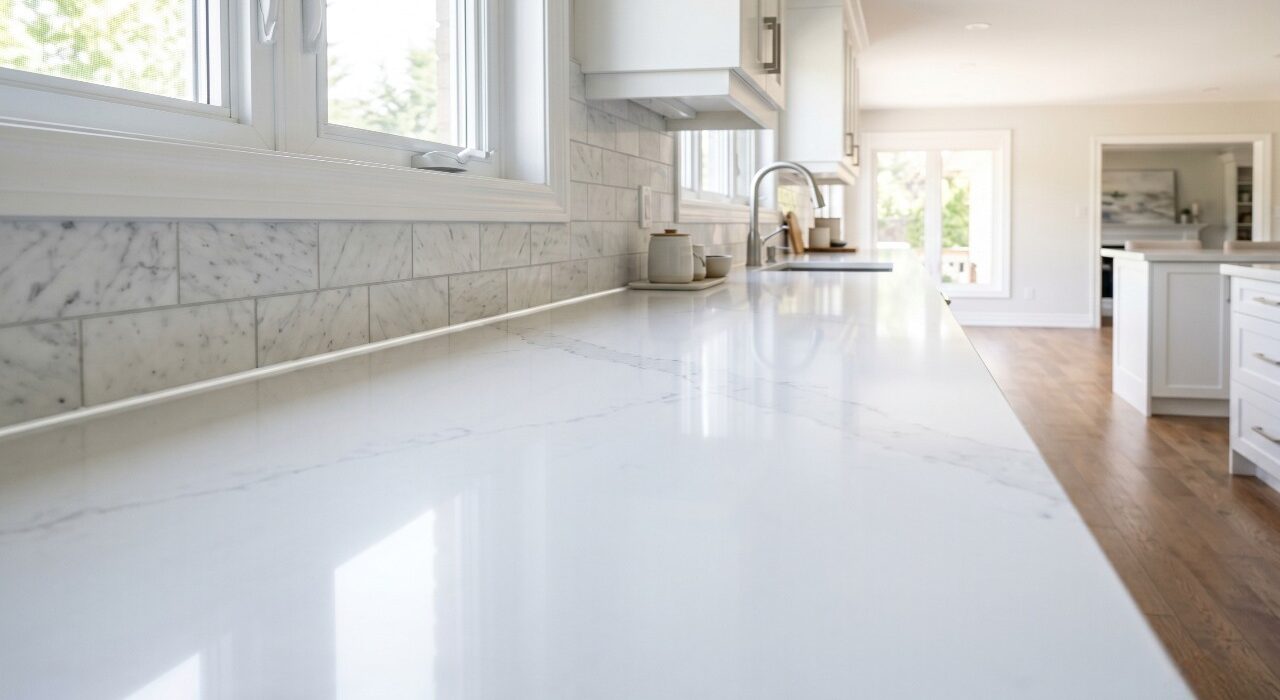
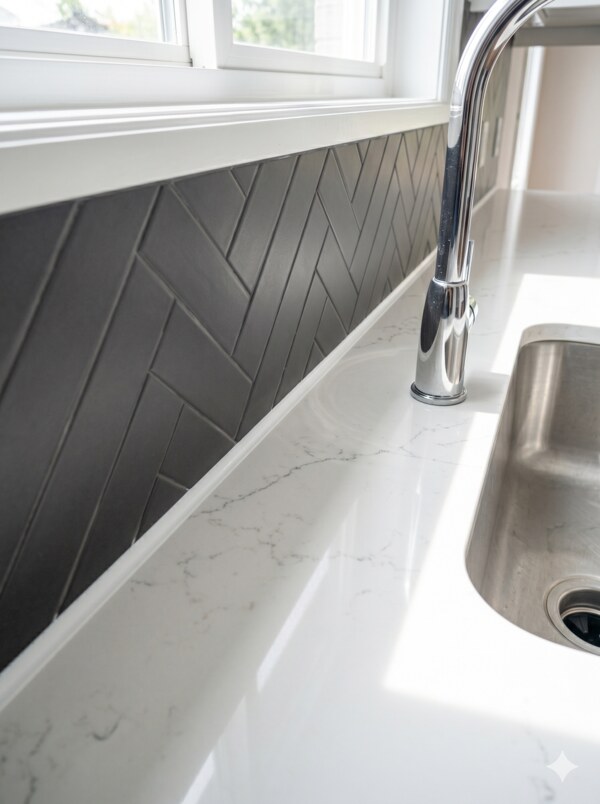
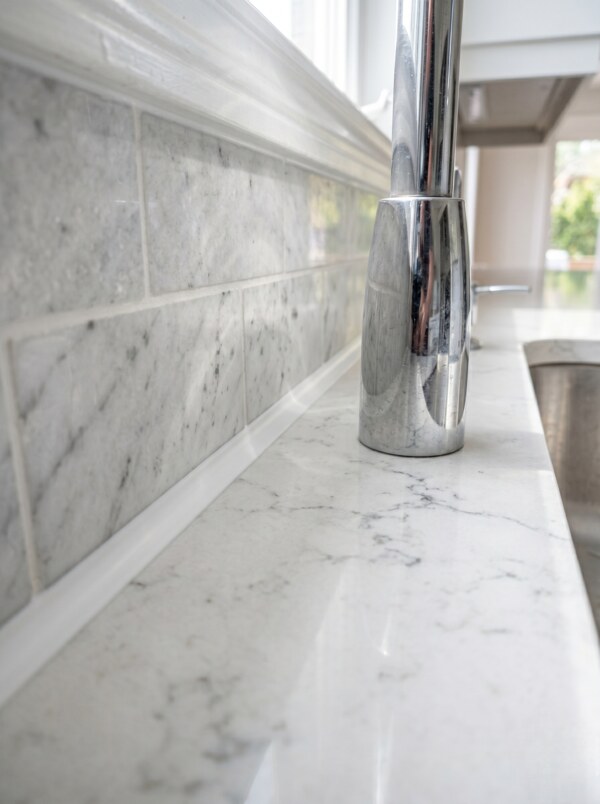
Backsplash and Countertop Sealing treatments address the single highest-risk transition joint in your entire kitchen for hidden black mold growth. The horizontal seam where your stone counter meets the tile backsplash sits in a constant cycle of moisture, food splatter, and warmth, making it the number one spot we find deep fungal contamination behind the faucet track.
Using cheap bathroom caulk or basic retail hardware store latex in this delicate location is genuinely dangerous for your building substrates. The wrong chemical compound can leach uncertified polymers directly into your food contact surfaces while permanently staining expensive granite or marble with an irreversible dark oil-like discoloration.
Oleg is the Halton building envelope expert who uses strictly certified food-safe, neutral-cure silicones on every residential kitchen project across Oakville, Burlington, and Milton. His immaculate trade precision protects both your expensive stone investment and your family’s daily health with long-lasting boundary seals.
The Acid Burn Risk: Why Standard Silicone Ruins Stone
Not all silicone sealants are created equal, and choosing the wrong chemical formula for your natural stone surfaces causes permanent damage that no amount of scrubbing can reverse. Homeowners frequently grab the cheapest tube on the hardware shelf without realizing that the acid curing agents inside will aggressively attack their premium granite or marble investments.
The Granite Stain Effect
Standard acetoxy silicone releases acetic acid as it cures, which is the exact chemical component that smells strongly of vinegar straight out of the tube. On dense, non-porous surfaces like glass or ceramic tile, this acid evaporates harmlessly into the air, but on porous natural stones like granite and marble, that acid bleeds deep into the mineral structure.
Over a period of months, this chemical reaction creates a dark, oily stain radiating outward from the caulk line that permanently discolors the stone matrix. Once this acid burn penetrates the stone pores, it is impossible to remove without grinding down the surface, turning a simple maintenance job into a catastrophic restoration bill.
Neutral Cure is Non-Negotiable
For quartz, granite, marble, and any other natural stone surface, using a neutral cure silicone is a mandatory technical requirement, not a preference. These specialized formulations release alcohol rather than acid during the curing process, allowing them to bond powerfully to the stone without etching the finish or causing discoloration.
If you are trying to understand how different interior sealants behave across unique substrates, reading our comprehensive overview on interior kitchen bathroom silicone caulking explains why material chemistry dictates long term bond durability. Applying a cheap acetoxy silicone to a quartz or stone countertop is the single most expensive mistake we see amateur installers make.
The Food-Safety Code
Kitchen preparation zones sit in direct proximity to food contact surfaces, meaning the sealants used there must adhere to strict biological safety standards. We specify only NSF-51 or FDA-certified silicones for these high-risk areas because they have been rigorously tested to ensure they do not leach harmful chemicals into your food supply.
These strict product selections precisely match the compliance guidelines outlined within the official Canada Food Inspection Agency acts and regulations framework. This trade-verified approach ensures that your home food preparation environments remain completely inert, safe, and code-compliant for residential health standards.
Our 4-Phase Kitchen Hygiene Sealing Framework
Kitchen sealing demands a completely different level of chemical precision than a standard bathroom job, especially when expensive custom stone counters are involved. Shoving a quick line of cheap caulk across a dirty backsplash track guarantees that underlying mold spores will continue to thrive inside your wall cavity.
True food-safe surface preservation relies on a disciplined execution order that purges the stone matrix before a single drop of compound is extruded. Rushing through these meticulous prep phases ensures that your new seals will eventually pull away from the greasy stone boundaries.
Phase 1: Razor Debridement and Alcohol Purge
Our technical field crew completely extracts every trace of your old, gummy caulk using specialized plastic razor tools that are 100% safe for polished stone surfaces. Steel scraper blades will permanently gouge, scratch, or dull your premium stone finishes, making high-impact polymer edge tools mandatory.
Once the old material is cleared, the exposed stone pores are aggressively scrubbed with an intensive denatured alcohol wash. This chemical purge neutralizes invisible mold spores hiding deep inside the stone pits, prepping a sterile foundation for the upcoming sealant.
Phase 2: The Two-Sided Tape Mask
We apply premium painter’s tape to both the horizontal countertop surface and the vertical backsplash wall before injecting a single drop of product. This dual-masking method is highly critical on natural stone because wet silicone smear is nearly impossible to wipe clean off a textured surface.
Attempting to clean up stray smudges afterward requires aggressive chemical solvents that can permanently etch your stone sealers or dull your quartz finishes. Taking the time to lock down these compressed tape borders guarantees that your final joint lines look perfectly sharp and uniform.
Phase 3: Injecting Mold-Resistant Neutral Silicone
Our installers inject a specified, high-grade neutral cure silicone compound loaded with specialized anti-fungal biocide additives. This commercial-grade material is engineered to permanently resist pink and black mold colonization for ten or more years, even in high-humidity kitchen sink zones.
This is a completely different chemical product than the basic, low-grade latex formulas sold in standard hardware store tubes. Choosing a premium 100% silicone compound ensures the joint maintains total structural elasticity without shrinking, cracking, or breaking down over time
Phase 4: The Pressure Tooling Profile
The fresh bead is instantly tooled under firm hand pressure into a tight, concave cove shape using a dedicated architectural tooling profile tool. This mechanical compression forces the compound deep into the stone-to-wall void, eliminating micro-gaps where standing water could siphon behind your lower cabinets.
This downward-sloping cove profile matches the exact drainage physics used around professional kitchen sink installations. The sharp pitch forces splashing water to drain back toward your sink basin rather than pooling against your backsplash wall where mildew thrives.
Protect Your Investment and Your Health
Executing a code-compliant backsplash transition treatment does far more than provide your food preparation spaces with a clean aesthetic look. A properly sealed backsplash protects the vulnerable hidden drywall and wood framing panels sitting directly behind your tile work from slow, devastating water damage and deep structural wood rot.
Leaving these high-exposure joints unsealed allowing sink water to constantly track downward will eventually compromise your structural wall framing and spawn hidden microbial colonies. Securing these boundaries creates a permanent barrier that blocks moisture infiltration while keeping your entire kitchen space smelling completely fresh instead of damp and musty.
Coordinate Your Kitchen Hygiene Evaluation Today
Contact Oleg at Proper Caulking to get your kitchen backsplash and countertop joints sealed with premium, certified food-safe silicone compounds. Our technical field division methodically evaluates and seals porous natural stone and quartz surfaces across Oakville, Burlington, and Milton to lock out persistent black mold growth.
Every single interior kitchen restoration project we execute is custom-built to protect your high-end stone, your household health, and your valuable structural assets for decades. Drop a line to our local dispatch office today or visit our online booking portal to secure a comprehensive, zero-obligation on-site evaluation for your home.
Eliminate Kitchen Mold and Acid Stain Risks
Don’t let aggressive acetoxy caulks burn your premium stone countertops or allow water to rot the drywall behind your tile tracks. Contact us for a specialized, professional backsplash and countertop sealing assessment today.
Proper Caulking – Oakville, Burlington & Milton, Ontario
Frequently Asked Questions: Backsplash and Countertop Sealing
Can I use the same silicone compound for my kitchen sink and my backsplash?
Yes, you can absolutely utilize the same chemical compound for both transition joints as long as you select a premium, 100% neutral cure silicone formula. You must completely avoid water-based acrylic or cheap retail latex caulks in these high-exposure areas because they lack the necessary elastic movement capabilities and will break down rapidly under direct water splashes.
Why is the caulking line directly behind my kitchen faucet turning black?
The caulking line behind your faucet turns black because your original installer likely applied a cheap organic latex caulk or a low-grade silicone variant lacking premium anti-fungal biocide additives. Over multiple cooking seasons, stagnant sink water penetrates these brittle materials and fuels deep, toxic black mold colonization that can never be wiped clean.
How long must I wait after installation before I can get my kitchen countertops wet?
While our professional field division utilizes specialized fast-cure commercial compounds that skin over within minutes, we strictly recommend keeping the new joints completely dry for 24 hours. Allowing the underlying polymer matrix to achieve its full chemical cross-linking cycle ensures the material forms a permanent, leak-proof bond against your stone surfaces.
Will cutting out and removing my old failing kitchen caulk scratch my quartz counters?
No, executing this critical extraction process will never scratch or dull your expensive quartz surfaces when handled by a trained building envelope specialist. Our field crews utilize specialized high-impact plastic razor blades and targeted chemical softening solvents to safely dissolve old residues without scratching your polished countertops.