
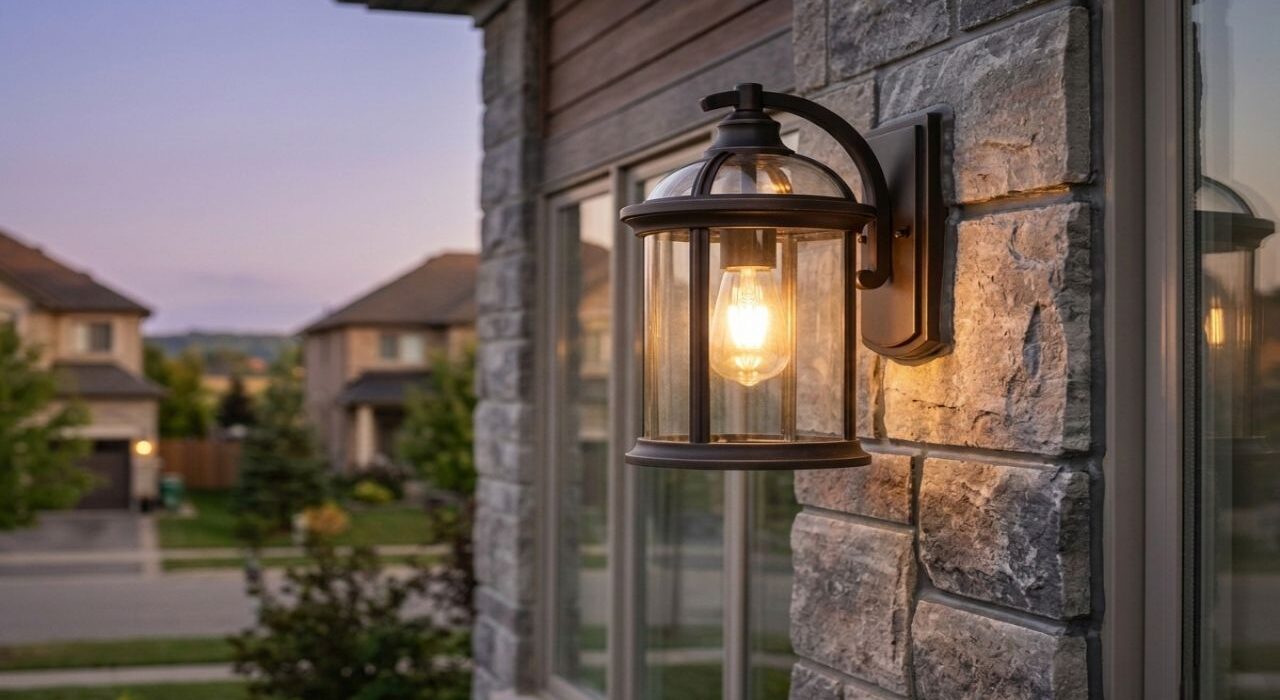
When weatherproofing a premium home anywhere in the Halton Region, executing professional exterior light fixture caulking is a critical building envelope requirement. Decorative carriage lamps, entry sconces, garage floodlights, and security fixtures punctuate exterior walls across every elevation from Oakville and Burlington to Milton.
Each of these lighting fixtures sits directly over an electrical junction box breach cut straight through your home’s exterior cladding layers. The thin perimeter sealant line wrapped around the outer mounting flange operates as your primary defense, stopping rain and drafts before they reach raw wall cavities.
Without a professional rubberized weatherseal, these fixtures operate as unshielded pathways for weather exposure and structural pest migrations. Most local homeowners never think to inspect these decorative sconces until the underlying water damage or an electrical short-circuit has already forced its way inside.
The Physics of the Junction Box Breach and Shorted Circuits
An outdoor sconce sits directly over an open electrical junction box cut through your exterior wall. The fixture canopy covers this box, leaving the outer base plate edge as your only barrier against weather exposure.
When gravity-driven rain runs down your brick or stucco face, it collects at the top edge of the fixture plate. If the perimeter weatherseal is failed or completely absent, water funnels behind the canopy and straight into the live electrical cavity.
Inside the open box, the water contacts wire connections and terminal screws not rated for moisture submersion. Corroded wire connections generate intense electrical resistance that produces dangerous heat and chemical oxidation.
Moisture bridging across these open terminal connections causes intermittent short circuits that trip your main panel breaker. Smart-home fixtures and motion-activated floodlights are vulnerable because their control electronics sit directly inside the housing box.
For the strict regulatory framework governing outdoor penetrations, the Ontario Electrical Safety Code defines the provincial compliance baseline for exterior electrical equipment. Upgrading to low-modulus commercial polymers blocks this horizontal water path before hidden short circuits destroy your lighting assets.
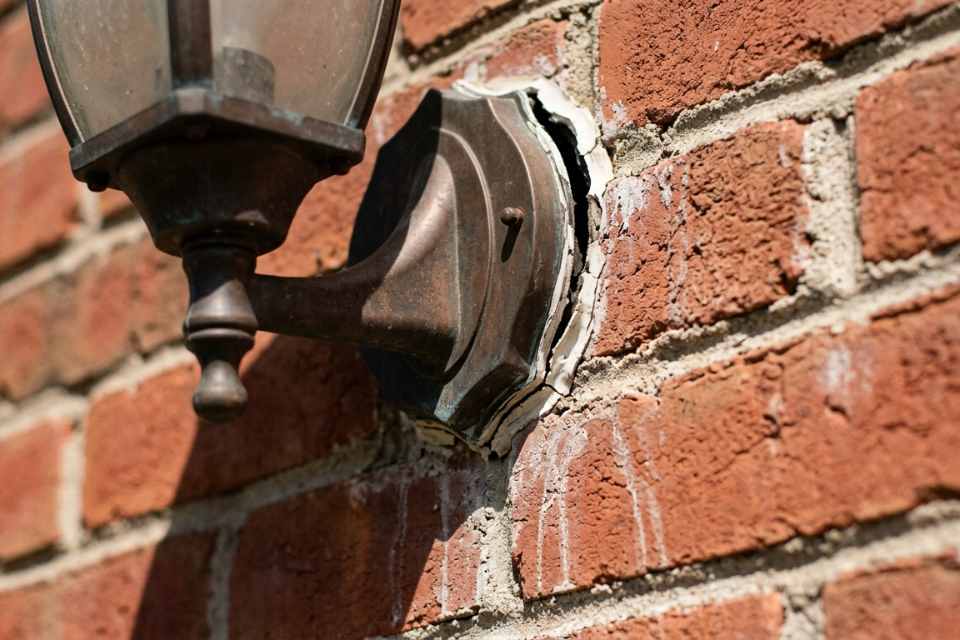
The Consequences: Hidden Cavity Rot, Winter Wall Drafts, and Pest Highways
Water that enters the junction box does not stay contained to the electrical cavity. It follows the wall cavity downward past the box, contacting the wood framing members around the rough electrical opening and the insulation batts in the stud bay below.
Wood framing at continuous moisture contact rotting out is not a visible or fast process. It advances silently inside the wall until it reaches a point where the structural integrity of the surrounding framing is compromised.
For a detailed explanation of how water entering a wall cavity at mid-elevation travels downward and appears as damage at a lower location, our article on window frame leaking water explains that moisture migration dynamic in full.
The air infiltration consequence is equally significant.
An open fixture base plate perimeter is a direct uncontrolled air path through the building envelope. Cold outdoor air entering through multiple unsealed sconce bases during winter contributes to the total air leakage volume that forces the HVAC system to work against uncontrolled ventilation.
Our energy efficiency article covers exactly how these cumulative air infiltration losses across multiple unsealed envelope penetrations translate to measurable utility bill increases across the heating and cooling seasons.
The pest access dimension is direct and specific.
The gap between a failed fixture seal and the surrounding brick or stucco is wide enough for carpenter ants to enter and follow the wall cavity toward warmer interior zones. Spiders use fixture cavities as shelter.
Mice have been documented entering wall cavities through electrical box openings on upper elevations, descending through the wall to reach interior spaces.
Our article on pest prevention window caulking covers the full methodology for sealing all perimeter breach points across the building envelope, including the connection between electrical fixture gaps and structural pest migration pathways.
The Critical U-Shape Master-Sealing Rule
This is the single most important technical distinction between a professional exterior light fixture caulking installation and an amateur patch job. Most painters, handymen, and inexperienced contractors who caulk around outdoor fixtures seal all four sides of the base plate completely closed.
This appears logical. It is structurally wrong.
Every outdoor fixture housing accumulates atmospheric condensation on its interior surfaces during temperature cycling, particularly during the transition seasons in Halton Region when overnight temperatures drop sharply after warm days.
Condensation that forms inside a completely sealed fixture housing has nowhere to drain.
It pools at the base of the fixture, accelerates metal corrosion on the housing, wets the electrical connections repeatedly, and saturates the junction box insulation with moisture that was generated inside the sealed envelope rather than driven by rain from outside.
The correct professional approach is the U-shape bead.
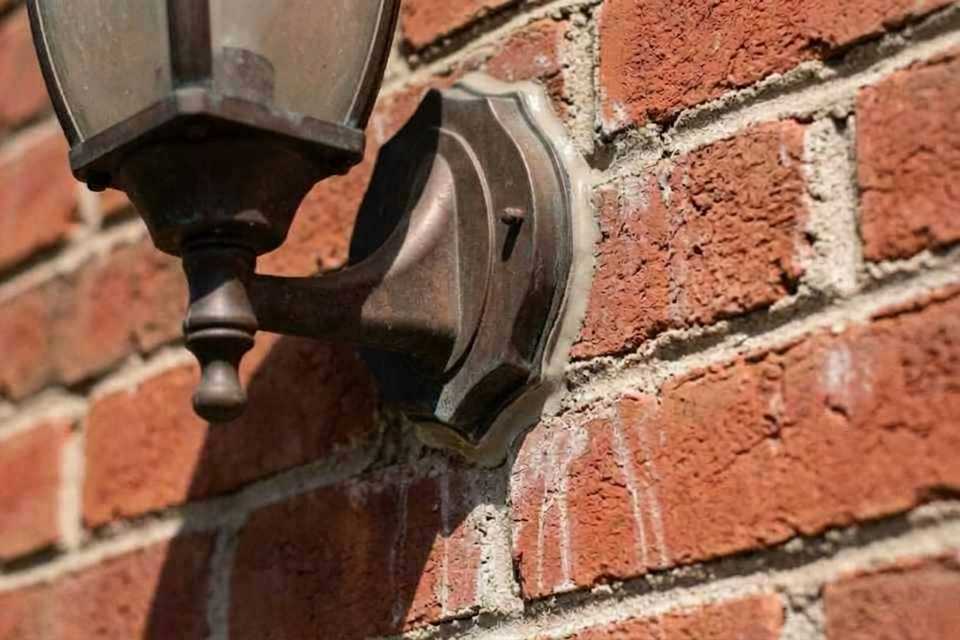
A continuous sealant bead is applied across the top edge of the base plate and down both vertical sides, forming a U configuration that covers all three gravity-exposed infiltration paths. The bottom edge of the base plate is left intentionally unsealed.
This open bottom edge acts as a natural weep drainage point, allowing any condensation that forms inside the housing to drain out rather than accumulate. The U-shape method is not a compromise.
It is the engineered solution that manages both infiltration and condensation simultaneously, and it is the standard that professional building envelope contractors apply on every exterior fixture installation and reseal.
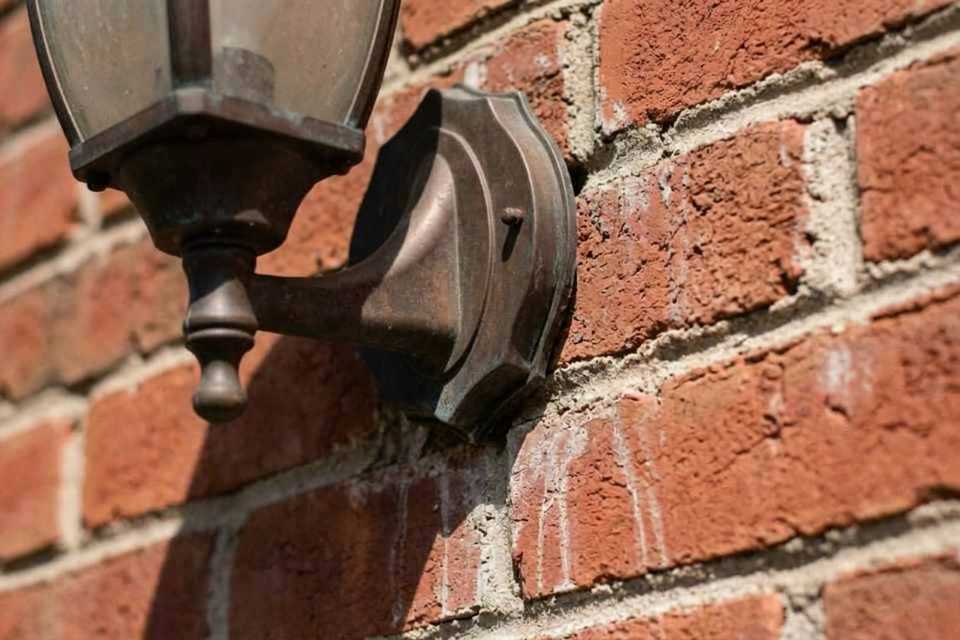
The Surgical Workflow for Decorative Wall Penetration Weatherproofing
Applying fresh caulk over an existing degraded fixture perimeter seal does not produce a weathertight result.
The surface of an aged sealant bead around an outdoor light fixture carries atmospheric soot, carbon deposits from the fixture lamp heat, surface oil from oxidized sealant polymer, and in some cases insect debris from pests that have been using the gap as an access point.
New sealant applied over this contamination bonds to the contaminated surface rather than to the underlying brick or cladding substrate. It fails at the contamination interface under the first thermal expansion cycle.
Phase 1: Stripping Corrosive Carbon and Fixture Heat Deposits
All existing sealant around the fixture base plate is removed completely using detail scrapers, oscillating tool attachments, and solvents appropriate to the surrounding substrate.
The extraction target is bare, clean wall substrate on all three sealed sides of the U-configuration, leaving zero residual adhesive, soot deposits, or polymer residue from the previous application.
The mechanical cleaning approach varies depending on whether the surrounding wall is brick masonry, natural stone, or synthetic stucco. For stucco-clad homes, the precision requirement is substantially higher due to the fragility of the finish coat.
Our article on stucco exterior caulking repair details the specific tool limitations and substrate preservation constraints that govern mechanical extraction on EIFS and synthetic stucco surfaces around decorative wall penetrations.
Phase 2: Inspecting Internal Junction Box Moisture and Wiring Integrity
With the perimeter cleared, the internal junction box condition and the rough opening geometry around the electrical penetration are thoroughly assessed.
Boxes that show advanced corrosion, moisture staining, or damaged wire insulation are immediately flagged for electrical inspection before the perimeter is resealed.
Sealing a perimeter over an electrically compromised junction box simply encloses hidden moisture damage and delays its detection.
Taking the time to evaluate the internal cavity ensures your home’s framing and electrical connections remain structurally protected.
Phase 3: Stabilizing Fixture Housing Clearances and Heavy Gaps
Where the clearance between the fixture base plate edge and the surrounding wall surface is wide due to an oversized rough opening or a shifted fixture position, a backer support is installed at the appropriate depth before sealant injection.
This controls the sealant depth-to-width ratio and establishes the two-point adhesion geometry that allows the compound to elongate correctly under the thermal movement of the fixture housing.
Without strict depth control, deep gaps filled with raw sealant produce a destructive three-sided bond that tears under the first thermal cycle.
This improper anchoring format forces the compound to split apart, letting water funnel straight back into the wall.
Phase 4: Executing Code-Compliant Draining U-Configuration Barriers
Our specialized crew injects the specified commercial-grade polymer using an advanced, three-sided layout pattern. We carefully execute a code-compliant U-configuration, sealing the top horizontal edge first before dropping down both vertical sides with completely uniform bead volume.
This precise technical path forces full substrate contact across all three targeted faces. It leaves the bottom edge completely open, clean, and unobstructed to serve as a natural gravity weep system.
The newly applied weather barrier is hand-tooled instantly to a smooth, downward-sloping concave profile using a dedicated masonry trowel. This mechanical compression drives the heavy compound deep into the porous material edges, locking in permanent adhesion against both the base plate trim and the adjacent exterior wall face.
Our selected exterior compounds utilize specialized cross-linked chemistry to maintain absolute stability against moisture pooling and intense structural friction. These water-shedding boundary standards align perfectly with the rigorous installation and building enclosure envelope parameters detailed inside the official Tarion Construction Performance Guidelines database.
This advanced weatherproofing capability ensures the tooled material absorbs ongoing framework stress throughout extreme Ontario weather variations. The flexible connection prevents the compound from cracking or pulling loose from expanding trim boards, brick walls, or utility fixtures.
5 Signs Your Outdoor Fixtures Need Immediate Attention
A quick inspection of every exterior light fixture on your home’s perimeter takes fifteen minutes and identifies every active seal failure before the consequences escalate.
Sealant that has cracked, split, or pulled away from either the fixture base or the wall surface on any of the three sealed sides is no longer providing weatherproofing at that location.
Fixture housings that rock or shift under light hand pressure have lost their mechanical anchor to the wall face and have open perimeter gaps at multiple points.
Interior breaker trips on outdoor fixture circuits without an obvious electrical cause are a reliable indicator of moisture reaching the junction box.
Wall surface staining below a fixture location, or soft, discoloured areas on interior drywall adjacent to the fixture wall, confirms that water has been entering the cavity through that penetration.
Visible insect activity at the fixture base, mud wasp nesting material inside the housing, or unexplained pest evidence in rooms adjacent to exterior fixture walls confirms active pest access through the perimeter.
Armor Your Electrical Junctions Before Summer Storms Arrive
A cracked or separated exterior light fixture perimeter seal represents a tiny structural breach with consequences that expand with every severe storm event and every season it remains unaddressed. Leaving these low-profile boundaries unshielded allows driving rain to seep directly inside your live electrical boxes, risking short circuits and hidden corrosion.
Proactively intercepting these small gaps eliminates the future need for expensive electrical component replacement, interior wall cavity drying, structural framing remediation, and specialized pest extermination. Deploying a code-compliant, custom-tooled U-shaped sealant bead that shields your junction box and sub-wall framing costs a tiny fraction of any of those hazardous remediation scenarios.
Coordinate an On-Site Exterior Electrical Joint Analysis
Contact Oleg at Proper Caulking to arrange a comprehensive on-site exterior electrical fixture joint assessment for your Oakville or Burlington property today. Our experienced technical field crew methodically checks every single wall sconce, overhead floodlight, carriage lamp, and exterior security fixture across your building envelope.
Our technical field division delivers a precise, line-item summary detailing where your electrical housings are breaking down and which framing pockets are exposed to water tracking. We completely eliminate future risk by securing our specialized utility weatherproofing applications with a comprehensive 10-year trade warranty on all labor.
Deploying this custom perimeter shield early in the spring weather window is the most reliable way to insulate your exterior utility connections before peak storm cycles hit the Halton region.
If you want to check out how our team seals tricky masonry transitions, exterior cladding boards, or horizontal structural ledges, take a look at our full menu of exterior sealing services built to eliminate drafts throughout the Halton region.
Protect Your Building Envelope From Light Fixture Leaks and Drafts
Don’t let unsealed electrical junction boxes short-circuit your fixtures, trip breakers, or rot hidden wall cavities. Contact us for a specialized, professional exterior light fixture joint assessment today.
Proper Caulking – Oakville & Burlington, Ontario