
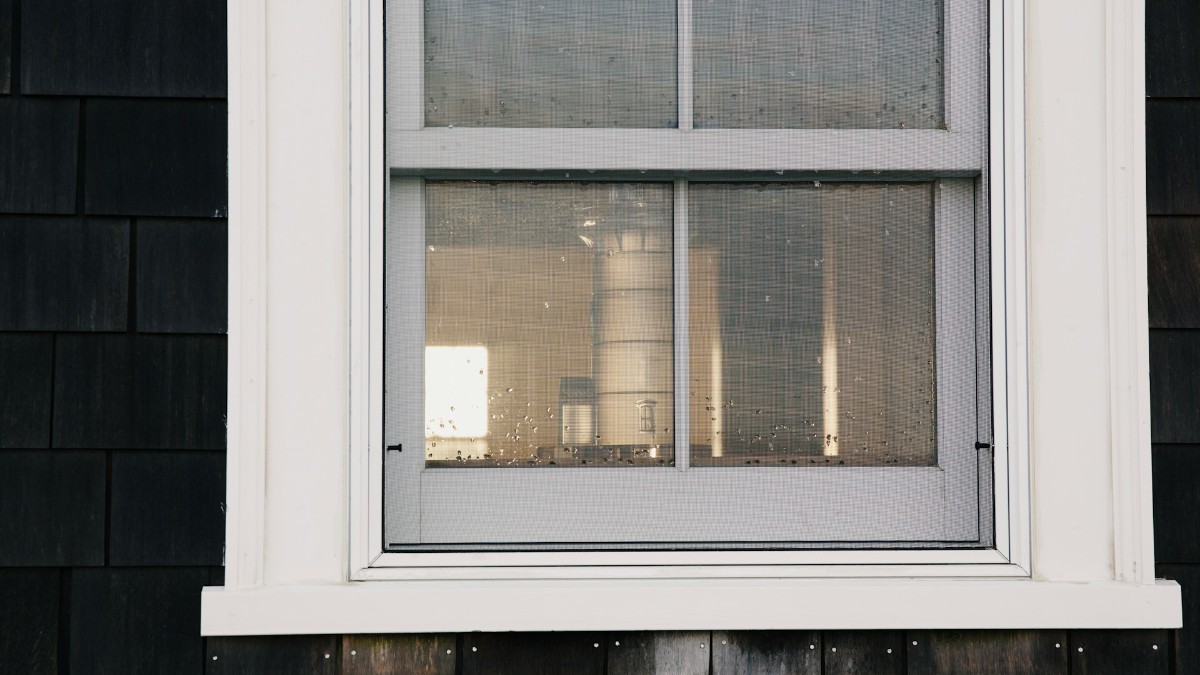
Imagine a severe storm rolling off Lake Ontario and suddenly triggering a window frame leaking water inside your living room. Finding water pooling on your windowsill or dripping from an upper casing is a highly stressful situation that demands an immediate, permanent solution rather than a temporary hardware store patch.
As the owner of Proper Caulking, I have resolved this exact scenario across hundreds of luxury estates and bungalows throughout Oakville, Burlington, and Milton. Ignoring these active moisture leaks allows water to track deep inside your wall cavities, rapidly spawning toxic mold growth and expensive structural wood rot behind your finished drywall.
I have spent nearly two decades mastering building envelope weatherproofing explicitly within Southern Ontario’s harsh, unpredictable climate shifts. Let me walk you through exactly where these structural leaks start, why speed matters for your property value, and how we fix them properly the first time.
The Hidden Culprits: Where Window Leaks Really Start
Here is something most local homeowners do not realize: the water dripping inside your window frame often did not enter at that window at all. Water is incredibly sneaky and continuously travels along the path of least physical resistance inside your building envelope.
A moisture stain on a second-floor bedroom header might actually be starting feet away on the exterior facade behind a failed exterior utility vent caulking seal or under a loose trim board. Once moisture slips past a compromised perimeter, it tracks along your internal wall framing and breaks through wherever it finds an exit point, which is typically your window frame.
Obstructed Drainage Channels and Clogged Weep Holes
The small rectangular slots positioned at the bottom exterior edge of your window frames are critical engineering drainage paths. When these channels get clogged with wind-blown dirt, old flaking paint, or sloppy DIY caulking, moisture backs up inside the window sill track.
Because the trapped water has nowhere left to escape, it overflows backward into your wall cavity. This blockage rapidly floods your interior drywall headers, ruins surrounding insulation, and spawns toxic mold behind your baseboards.
Missing Sub-Frame Backing and Joint Geometry Failure
Professional window weatherproofing requires more than just squirting consumer caulk directly into an open wall gap. Deeper architectural structural seams must always be pre-stuffed with a high-density, closed-cell foam support cushion first.
As detailed in our guide to professional joint preparation, skipping this critical step causes raw sealant to stretch and snap apart during intense freeze-thaw cycles. Without proper backing support to absorb ongoing movement, the perimeter seal will tear wide open within a single season.
Capillary Action and Lake-Effect Wind Pressures
Capillary action is a building science phenomenon where water gets physically sucked into microscopic structural gaps through surface tension. When severe storms blow heavy, driving rain straight off Lake Ontario into Burlington properties, positive wind pressure forces water through these hidden tracks.
Even a tiny hairline fracture in your exterior weatherseal will act as an open straw. The storm pressure pushes water straight through the masonry boundary and drops it onto your finished interior ceilings.
Weathered Retail Compounds and Solar Radiation Fatigue
Standard consumer caulking tubes grabbed from local big-box hardware stores are simply not chemically engineered to survive Ontario’s extreme temperature shifts. Blistering roofline solar heat quickly cooks the plasticizers out of cheap latex and acrylic store brands, turning them hard as plastic.
Our team uses strictly elite, commercial-grade architectural polymers like Dymonic 100 or specialized non-sag silicones that are fully climate-rated. These professional compounds cost more upfront but are engineered to stretch flawlessly through extreme seasonal shifting without cracking.
Why Speed Matters: The Real Risks of Window Leaks
A little pool of water on your interior windowsill may not seem like an urgent household emergency. However, after pulling apart hundreds of failing window installations across the Halton region, I can tell you that by the time you spot active water inside, a much larger problem is already developing hidden within your wall cavity.
Both the Ontario Building Code envelope requirements and Natural Resources Canada’s strict guidelines on structural air and moisture sealing exist for a massive structural reason. When horizontal driving rain or melting winter ice dams bypass your exterior frames, destructive property damage develops inside your home at an incredibly accelerated rate.
1. Toxic Sub-Wall Mold Growth and Indoor Air Contamination
Southern Ontario’s intense summer humidity levels create the perfect, high-stress breeding environment for biological growth. The moment moisture is drawn behind your window casings, mold begins aggressively multiplying out of sight on raw wood framing studs and the porous backing of your interior drywall.
Most homeowners never realize a problem exists until they breathe in airborne spores or a tiny leak triggers thousands of dollars in emergency mold remediation bills. Taking proactive action to re-seal your exterior perimeters completely stops this hidden toxic spread before it takes over your home.
2. Progressive Sub-Frame Wood Rot and Catastrophic Framing Collapse
Your home’s window rough openings and load-bearing headers are framed with structural timber rafters that cannot handle prolonged water saturation. When water tracks past a cracked, dried-out retail weatherseal, it leaves the wood permanently soaked, causing the wood fibers to soften and rot apart.
I have executed extensive framing teardowns on luxury estates less than 15 years old simply because a minor exterior joint failure went unaddressed for a couple of seasons. Once rot sets into a structural wall cavity, it spreads rapidly, multiplying your ultimate carpentry reconstruction costs by thousands of dollars.
3. Insulation Saturation and Severe Winter Energy Loss
Wet home insulation is entirely useless insulation that loses its complete thermal resistance R-value the moment it gets damp. If water migration is breaking through your window frame, that same moisture is likely soaking the surrounding fiberglass batt insulation inside your wall cavity.
This hidden soaking creates massive, icy cold winter drafts and forces your expensive household heating systems to work continuously against uncontrolled ventilation.
To see how these moisture gaps cause your hard-earned money to evaporate, see our article on three-sided adhesion failure to understand why perimeter joints split apart and leave your building envelope completely exposed to the elements before the next major storm season hits.
5 Red Flags Your Window Seals Are Failing
Not sure if your windows need professional attention? Here are the exact physical failure signs I look for during a specialized property inspection.
If you are checking off more than one of these indicators on your home, you have an active building envelope breach that requires immediate pro attention before the damage turns structural.
If left unsealed, these micro-gaps also act as open entryways for seasonal insects, which we break down extensively in our article on pest prevention window caulking.
Red Flag 1: Visible Stress Cracks and Separation Along Exterior Trim Seams
Even a tiny hairline fracture running the length of your exterior window joint is wide enough to let driving rain bypass your cladding. If you can physically spot visible pulling, peeling, or splitting along the old caulk bead, your primary line of building defense has completely failed.
Red Flag 2: Peeling, Flaking, or Bubbling Paint on Interior Window Casings
When water penetrates your exterior walls, it saturates the wooden framing studs and migrates directly into your indoor trim boards. This trapped moisture forces the interior latex or acrylic paint coat to detach from the wood, resulting in highly visible bubbling, cracking, or flaking paint along your windowsills.
Red Flag 3: Severe Drywall Staining or Discoloration Near Windows
Dark yellow, brown, or water-ringed staining on the drywall surfaces beside or below your windows indicates an active, ongoing sub-wall leak. This visual warning sign means that rainwater is actively running down your internal wall studs, soaking your insulation, and rotting your drywall backing from the inside out.
Red Flag 4: Pungent Musty Odors Around Window Castings After Heavy Rainstorms
If a distinct musty, damp, or earthy smell develops around your window tracks following a heavy rainstorm, you are dealing with active mold growth inside your wall cavity. This pungent odor is a major warning flag that water is continuously tracking behind your frames, creating a damp organic breeding ground for toxic spores.
Red Flag 5: Severe Physical Drafts You Can Feel Near a Closed Frame
If you can feel cold or hot drafts near your window frame when locked, your perimeter seal is gone. This forces HVAC systems to overwork. According to Natural Resources Canada, these unsealed paths can cause windows to account for up to 25 percent of a home’s total structural heat loss.
The Proper Caulking Method: How We Actually Fix Window Leaks
I have seen plenty of temporary “repairs” executed by well-meaning homeowners or local general handymen who simply do not specialize in high-end building envelope protection. Their standard shortcut usually involves running a fresh bead of cheap retail caulk straight over the top of dirty, failing old material and calling it a day.
That superficial approach might buy you six months of deceptive security, but it completely fails to resolve the underlying moisture migration path. Here is how we methodically execute the process at Proper Caulking, and exactly why our engineering standards ensure your seals endure for decades instead of months.
Phase 1: Complete Removal of Brittle Thermal Leaking Seams
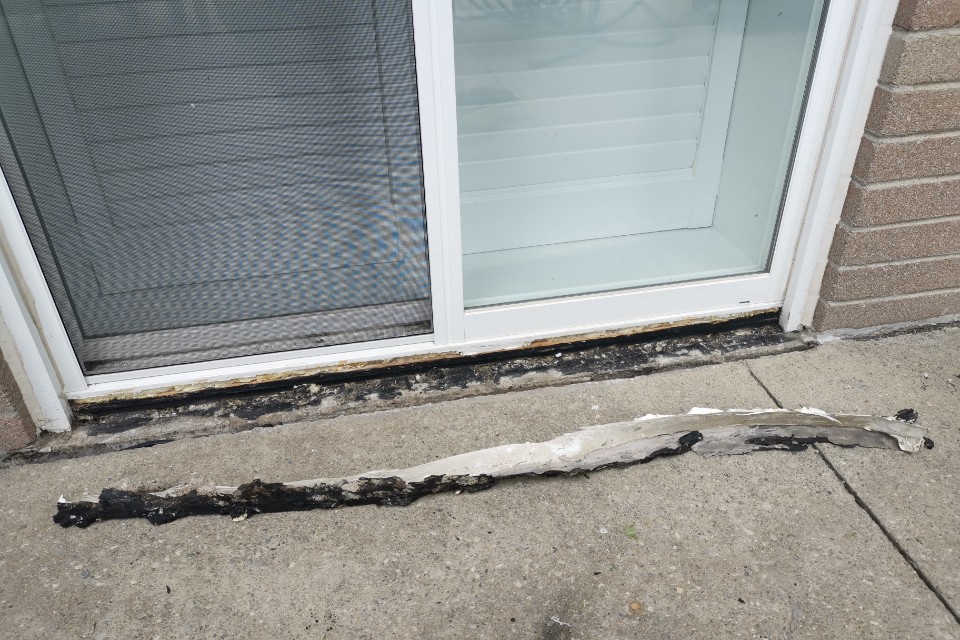
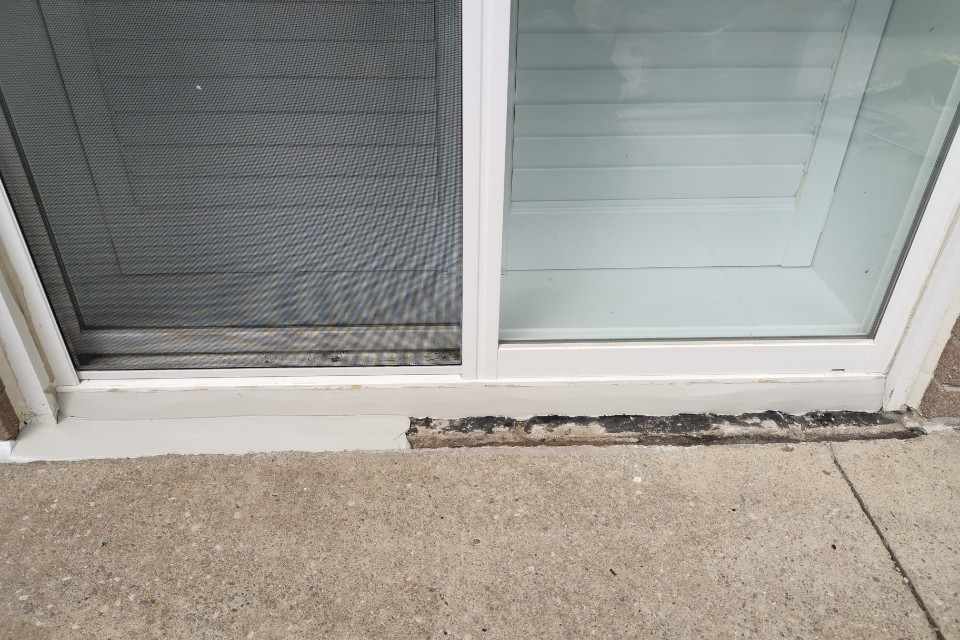
We never caulk over failing or degraded material under any circumstances. Our team meticulously cuts out and extracts every single millimeter of the old, failed caulking, grinding right down to the raw, clean building substrate.
This is highly tedious, physically demanding hands-on field work, but it is the only physical way to ensure a proper, long-term adhesive bond. Leaving old compound in place simply leaves hidden drafts and structural water channels wide open to damage your home.
Phase 2: Removing Embedded Atmospheric Pollution and Contaminants
We thoroughly scrub and clean all joint surfaces with industrial-grade surface cleaners. This critical chemical preparation step removes fine construction dust, oxidized oils, old caulk residue, and deep biological mildew spores.
A high-performance weatherseal demands a pristine, spotless bonding channel to lock onto masonry and window trim faces flawlessly. Taking no shortcuts during this cleaning phase ensures your new weatherproofing system will not delaminate or pull away down the road.
Phase 3: Structural Framing Infrastructure and Weep Hole Auditing
Before we inject a single drop of fresh polymer, we thoroughly inspect your actual window installation framework. Our field crews utilize calibrated pinless electronic moisture meters to scan the hidden framing timbers and execute localized low-pressure water spray rack tests along the brick shoulders to track active leak paths.
We verify that your underlying window flashing is structurally intact, check that your functional water weep holes remain completely clear of masonry mortar tags, and evaluate the framing for hidden rot. If we locate underlying sub-wall structural issues, we communicate that data to you immediately with total transparency.
Phase 4: Establishing Closed-Cell Backing Rod Insulation Support
For deeper joints, which encompass almost all exterior window perimeters, we install a high-density foam backer rod. This closed-cell cushion is packed to the correct depth to support the weight of the incoming compound and prevent it from sagging into deep structural voids.
As detailed in our guide to professional joint preparation, this specialized foam packing establishes the exact two-point adhesion geometry required for ultimate elongation. It stops the sealant from bonding to the back of the wall cavity, allowing the rubber to flex effortlessly as your home shifts.
Phase 5: High-Performance Application of Climate-Rated Polymers
We apply strictly elite, commercial-grade architectural silicones and polyurethanes engineered for harsh Canadian climates. These professional-grade materials are rated to stay completely flexible at -40°C winter deep-freezes and resist breaking down under +35°C direct summer solar radiation fatigue.
We explicitly calculate local humidity levels before application, preventing the rapid chemical outgassing bubbles that occur when moisture-cure polyurethanes are slammed into sun-baked, damp substrates.
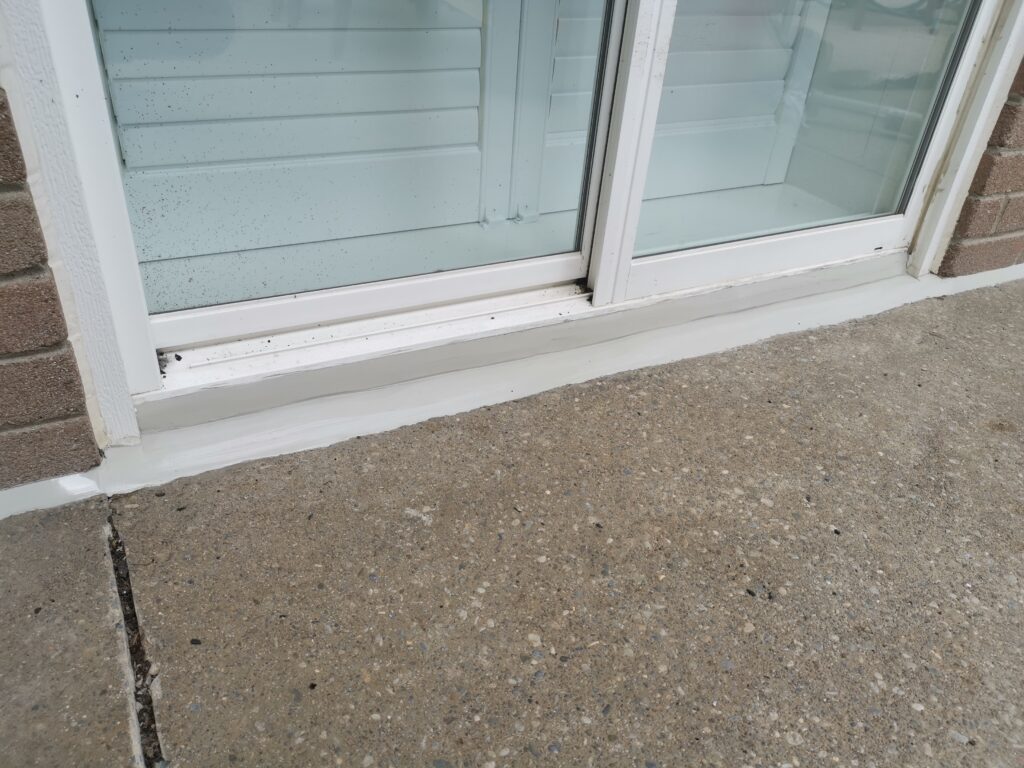
We inject the compound with precise high-pressure equipment at the manufacturer-specified thickness. We then hand-tool every single bead to a smooth, concave profile that maintains a strict 2:1 width-to-depth structural ratio, ensuring the cured rubber sheds wind-driven rain cleanly away from your building facade.
Phase 6: Final Structural Inspection and Project Quality Sign-Off
We meticulously review every single joint circuit, clean up the job site completely, and walk you through the finished layout. We want to ensure you completely understand the exact building science steps we took and why your new envelope shield is engineered to last.
This surgical workflow is not fast, and it is certainly not the cheapest option you will find across the Ontario market. However, it works perfectly, and I routinely have local customers call me back five, seven, or ten years later to seal other areas because our initial installations are still performing flawlessly.
Burlington Homes Need Burlington Solutions
If you live in South Burlington, Alton, The Orchard, or anywhere in the Halton area, you know our weather is tough on homes. We get temperature swings that would make a Torontonian wince, wind-driven rain off the lake that tests every seal, and freeze-thaw cycles that never seem to end in spring.
Every residential structure requires a customized remediation approach based on its original engineering era. A 1970s structural clay brick bungalow relies on highly porous mortar shoulders that hold sub-surface moisture, whereas a 2015 vinyl-sided installation utilizes independent starter flashing tracks that undergo aggressive horizontal thermal expansion cycles.
To prevent rapid adhesive peeling, our field crews match the precise elastic elongation metrics of your specific cladding transitions rather than relying on generic, all-purpose big-box store compounds.
Don’t Wait for the Next Leak
If you’re seeing water where it shouldn’t be, don’t wait for it to get worse. Every day that water has access to your wall cavity is a day it’s doing damage you can’t see.
At Proper Caulking, we offer free, no-obligation estimates. I’ll come out, take a look at what’s going on, explain what I find in plain language, and give you an honest quote. No pressure, no upselling. Just straight talk from someone who’s been doing this work since before it was cool to care about building science.
Call us today to schedule your free inspection. Let’s get your windows sealed properly and keep that Lake Ontario weather where it belongs: outside.
Don’t Wait for the Next Storm to Damage Your Home
Get a free, no-obligation window leak inspection in the Burlington area from an 18-year expert.
Proper Caulking – Burlington, Ontario