
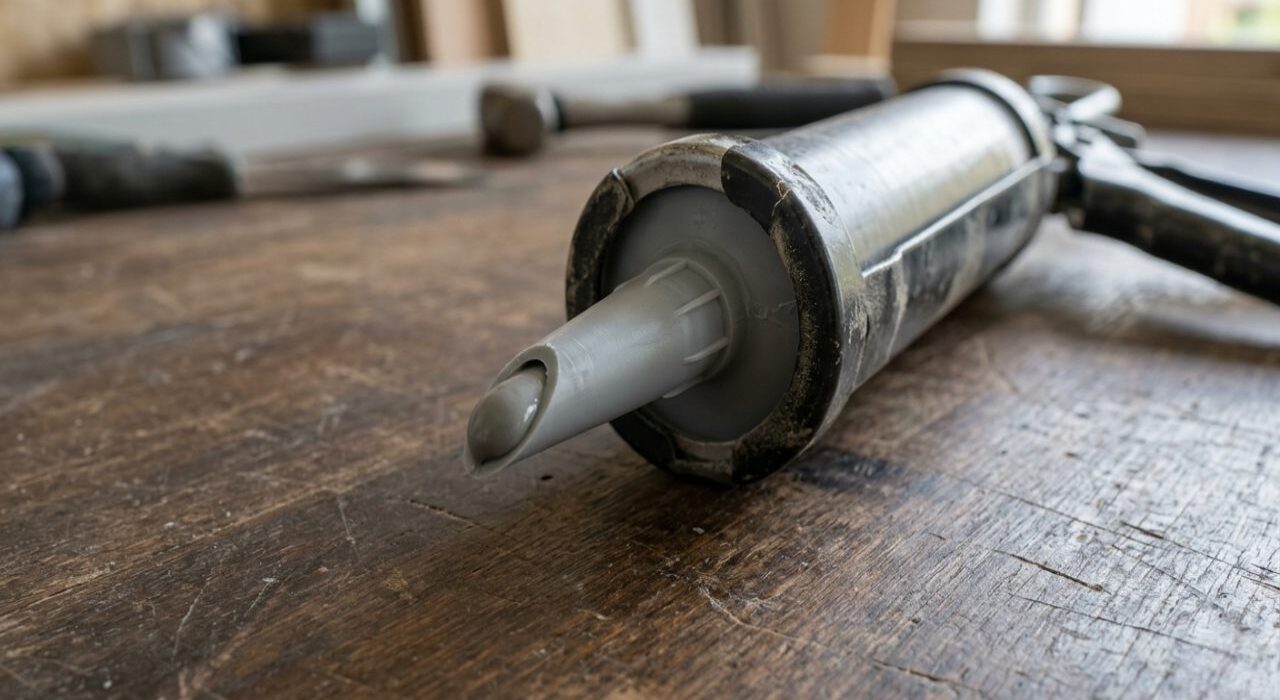
Mastering the precise mechanics of trimming a plastic cartridge tip is a fundamental trade skill. Slicing a fresh cone to establish a precise caulking nozzle cut angle is a critical building-science calculation. Most handymen treat the plastic tip as a generic discard item, slicing it blindly with dull pocket knives.
An incorrect or jagged cut creates uneven internal back-pressure inside the tube. This structural defect results in skipping beads, massive compound waste, and premature seal failure. You are left fighting the gun, producing a wave-like pattern that leaves your property envelope vulnerable to water leaks.
Achieving a clean seal requires a perfectly smooth, factory-grade oval edge. Trimming the nozzle at a matching angle ensures the liquid rubber hits the deepest corner of your masonry joints. This basic tool calibration is the fastest way to stop structural edge failure.
CAULK TIP CHART: ANGLES AND SIZES FOR DIFFERENT JOINT GAPS
Varying joint spaces require completely different volumes of architectural compound and distinct structural tooling pressures to achieve deep pore wet-out. Before slicing into a fresh plastic cartridge cone, technicians must match their cutting tool approach to the explicit design parameters of the seam.
| Cut Angle Configuration | Resulting Tip Geometry | Volumetric Material Flow | Target Application Intent | Primary Mechanical Benefit |
|---|---|---|---|---|
| Flat 0-Degree Cut | Perfect Round Cylinder | Minimal / Restrained | Deep, narrow gap back-stop injection | Minimizes air pocket formation |
| Standard 45-Degree Cut | Clean Oval Ellipse | Balanced / Controlled | Standard door and window perimeter beads | Smooth dragging contact angle |
| Steep 60-Degree Cut | Long Elongated Scoop | High Volumetric Output | Deep horizontal stone expansion lines | Maximizes joint cavity pack-out |
THE SCIENCE OF INTERNAL PRESSURE AND TUBE EXTRUSION
The internal physics of a manual or pneumatic dispensing gun rely entirely on balanced kinetic pressure inside the plastic cartridge. Slicing the plastic nozzle tip changes the diameter of the exit orifice, which regulates how much mechanical resistance the fluid compound meets as the piston advances.
A clean, smooth oval opening allows heavy moisture-cure polyurethanes to flow out smoothly, while a crushed or jagged tip creates erratic flow lines that ruin your line consistency. Additionally, a smooth cut allows the installer to maintain an optimal 45-degree hand dragging position relative to the wall face.
When the internal back-pressure is correctly balanced, the fluid polymer moves through the cone at a perfectly uniform velocity. This smooth, hydraulic movement prevents the gun from jumping or stuttering, allowing the installer to lay down a completely seamless bead along the entire side transition.
Conversely, a restricted or misshapen opening causes the heavy polymer to build up extreme head pressure inside the tapered barrel. This mechanical strain forces the wet material to ooze out sideways from the nozzle edges, leaving a messy trail that ruins clean tracking.
HOW TO CUT YOUR NOZZLE TIP FOR WINDOWS, DOORS, AND LARGE GAPS
Achieving an airtight weather barrier requires trimming the plastic nozzle cone at a precise position along its tapered length. Slicing too close to the point restricts flow and strains your gun, while cutting too close to the base floods the seam with a massive ribbon that messes up your tooling pass.
Narrow Window Perimeters (3mm to 6mm Gaps)
For narrow perimeter gaps, the tip must be cut near the apex of the cone at a strict 45-degree angle to keep the exit path matching the width of the gap. This tight profile provides the exact back-pressure needed to drive medium-viscosity silicones cleanly into aluminum window channels without spilling over the face of the brick.
Trimming the nozzle precisely at this narrow threshold prevents excessive compound from smearing onto adjacent architectural frame trim. The clean oval tip functions exactly like a narrow guide pen, ensuring the fluid rubber hits the deepest corner of the channel with absolute geometric accuracy.
Wide Structural Joints (10mm to 20mm Gaps)
Wide expansion seams require moving the cut line further down the tapered nozzle barrel to expand the diameter of the exit opening. The tip must be sliced cleanly with a dedicated utility knife to match roughly 80% of the joint’s total width, ensuring the injected polymer completely packs the cavity. For an analytical breakdown of how to prepare these wide gaps before running your bead, review our local field guide on residential window caulking services.
Exposing a wider opening allows the technician to deliver a massive volume of dense polymer deep into structural masonry gaps without stalling forward movement. This high-volume extrusion completely floods the joint channel, eliminating any internal voids that could collect freezing water during the winter months.
WHY THE 45-DEGREE SLANT FORCES THE CAULK TO BOND BETTER
When a professional installer drags a perfectly cut 45-degree nozzle along a masonry joint, the extended, trailing edge of the plastic tip functions as a built-in pre-tooling blade. This structural geometry actively compresses the wet polymer directly into the microscopic pores of the stone or wood as it leaves the cartridge.
Skipping a proper angle cut forces the installer to drag a round, un-sloped tip along the facade, which merely drops a loose cylinder of caulk on top of the seam faces. This misaligned delivery traps massive air pockets beneath the bead, causing early joint failure when the building shifts. This common field mistake is explored in our structural masonry guide on brick window sill caulking.
This continuous compression is the most critical element required to achieve maximum adhesive bonding strength along rough, irregular masonry walls. The trailing plastic edge pushes the fluid material so deeply into the concrete grains that it builds an unbreakable, interlocking mechanical anchor.
When the compound is simply dropped into the gap without this initial physical force, it merely sits loosely on top of surface dust. This un-bonded installation ensures the bead will rapidly unzip from the brickwork the first time the property experiences intense wind or structural movement.
To evaluate the mechanical flow rates, nozzle cut instructions, and back-pressure limits for high-viscosity trade cartridges, equipment teams should cross-reference the application handbooks managed by the Soudal International Tooling Division.
Studying these engineered application parameters allows field supervisors to calibrate their extrusion tools to match strict international structural standards. Ensuring the nozzle geometry aligns with manufacturer guidelines protects your delicate multi-material facades from early joint delamination.
BOOK A PERIMETER SEAL INSPECTION WITH PROPER CAULKING
Reach out to Oleg at Proper Caulking to coordinate a meticulous building envelope inspection and eliminate hidden climate leaks across your home’s exterior facades. Our specialized residential and commercial teams serve property owners throughout Oakville, Burlington, and Milton, combining technical field diagnostics with calibrated mechanical tooling precision.
Every custom joint restoration project we execute is strictly planned using elite material selections and professional extrusion mechanics to guarantee enduring structural protection. Call our local team directly or use our digital booking system today to book your comprehensive, zero-obligation on-site joint assessment.
Our technical field crews bring an advanced, scientific understanding of material hydraulics and tip modifications directly to your job site. Entrusting your home’s exterior perimeter transitions to our trained professionals guarantees a flawless, watertight barrier that completely preserves your property’s value.
Secure a Flawless Building Envelope Seal
Improperly cut nozzle tips cause uneven extrusion, skipping beads, and early joint failure. Contact our technical field division today to evaluate your property facades and install advanced, high-movement compounds with calibrated trade precision.
Proper Caulking – Oakville, Burlington & Milton, Ontario
QUESTIONS HOMEOWNERS AND CONTRACTORS ASK ABOUT CAULK TIPS
What happens if I try to use a straight, 0-degree square cut on a window perimeter joint?
A flat, 0-degree square cut forces the plastic nozzle to ride awkwardly on top of the window frame instead of laying down a smooth bead. This bad angle makes the gun skip and wiggle along the path, spitting out uneven chunks of material and leaving raw gaps that allow rainwater to slip straight past the seal. Without a trailing edge to compress the wet compound, the material merely rests loosely inside the perimeter line without locking to the substrate faces.
Why does a jagged or dull blade ruin the performance of a cut caulking nozzle?
Trimming a plastic tip with a dull knife drags and crushes the plastic cone instead of slicing through it cleanly. This crushing leaves tiny jagged burrs and plastic tabs inside the opening that block the smooth path of the liquid caulk, creating lines and streaks through your bead that look terrible. These internal plastic imperfections disrupt the natural fluid flow lines, causing the wet polymer to spray out in unpredictable directions.
Can the angle of the nozzle cut be used to help tool the bead without a spatula?
Dragging a cleanly cut 45-degree tip at a steady speed acts as a great pre-tooling pass by flattening the wet compound right behind the gun. While it strips away extra material and smooths out the top line, a dedicated manual tooling trowel or spatula is still required to lock the edges firmly to the masonry. The trailing tip edge functions exceptionally well as an initial shaping tool, but it cannot replicate the deep, localized pressure needed to completely eliminate micro-gaps along porous stone surfaces.
Should I cut the plastic tip differently when using a pneumatic gun versus a manual gun?
Pneumatic guns apply a continuous, steady air pressure that drives thick polymers out much faster than standard manual frames. To handle this high speed, the tip can be cut at a slightly steeper 50 to 60-degree angle, allowing the technician to glide the gun along wide expansion lines without stalling forward movement. This steeper slope provides a larger exit area that accommodates the high volumetric flow without triggering extreme back-pressure build-up inside the gun barrel.
How do I know if my nozzle opening is cut too small for the exterior joint I am sealing?
If your tip opening is cut too narrow, you will have to squeeze the trigger with exhausting hand force, and the caulk will come out in a thin, stretched string. This under-extruded string fails to completely fill the joint depth, leaving a hollow pocket underneath that will split open during the next deep freeze. The excessive force required to drive material through a tiny orifice quickly deforms the metal trigger plates, causing the push rod to continuously slip.